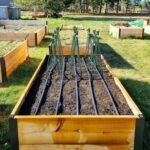
You may have seen other planters available online. Well, we’ve decided to publish a version ourselves, because it’s just… like that. darn. cool. We wanted to try one of our own, but do it a little differently. So we went up! We made this DIY planter vertical and we did it in one afternoon.
The nice thing about this project is that you can make it as big or as small as you want. Just buy more concrete blocks!
(adsenseyu1)

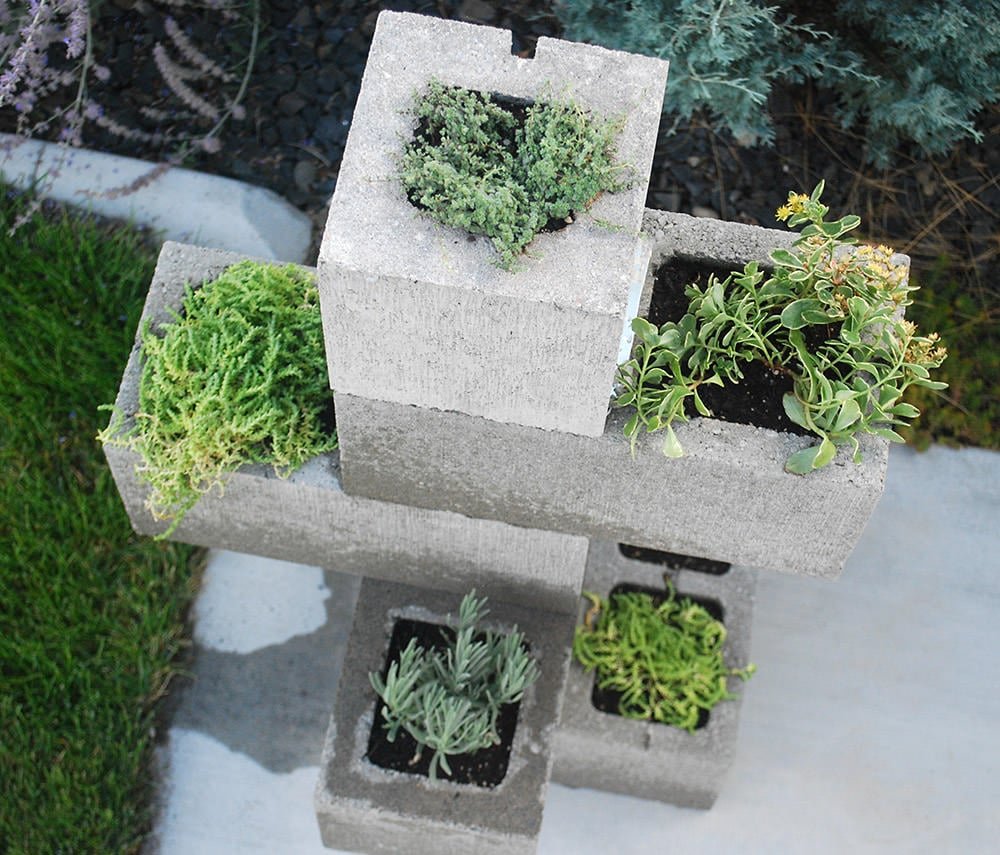
How to make a DIY vertical cinder block planter
Before building, map out your layout using two and single blocks. Consider balance, weight, and how the planter will stand once stacked.
Having a reference photo will make assembly much easier later.
DIY Cinder Block Planter Supply List:
- Cinder block. We used both double and single block, as I mentioned above, edit your own design or copy our photos. We used 5 doubles and 2 singles.
- Flashing metallic rectanglesprecut we found in the roofing department for 59 cents a piece. Be aware that their edges can be a bit sharp. We’ve heard there are such things as brick caps, but good luck finding them.
- Landscape glue and caulking gun. We used heavy duty Loctite PL 375 construction adhesive – good for masonry and metal (Found in the paint section at Home Depot). It worked like a charm.
- Plants.

Cinder blocks and construction glue are the main components of this project, so make sure you have everything ready before you start assembling.
The glue we used worked especially well for bonding masonry and metal.

Step 1: Place metal caps on the block
First, glue the caps to the bottom of the sections to be planted. This is where your photo from your initial drawing session will come in handy. Insert the adhesive tube into the gun and press a generous 1/4″ bead onto the block, then press on the cap. Wipe off the excess as this stuff doesn’t dry…you don’t want a mess all over the outside of your finished project.

(Additional note: At first we thought we only needed to glue two of the sides so it wouldn’t be completely sealed and drain the water. But he quickly discovered that all four sides of the metal had to be glued to the block to be secure enough to stay attached.)

Step 2: Allow the glue to dry
We felt they needed some weight on them as they dried, so we just flipped them over on a piece of newspaper so the lid was on the bottom. This way, the weight of the block worked for us. Yes, some of the glue sticks to the newspaper, but it comes off later with water very easily.

Step 3: Stack the Cinder Blocks
Assembling the planter definitely takes two. Again, use the original design photo for assembly and make sure the planter sections with the bottom caps are in the right places. Apply an adhesive and then place the block. Have the second person hold it in place until the weight of the upper blocks stabilizes the lower ones. Hopefully your original design allowed for gravity. 🙂

Step 4: Add soil and plants
Plant with a light potting soil and plants 4 inches apart. We used sedum (and one lavender!) because they love the porous nature of the cinder blocks. Also, ours will be in the sun most of the day and these will thrive there. If yours is in the shade, how about ferns and moss?

We love how this turned out. It has a cool look in the urban garden and adds a lot of personality to an outdoor space.
This project is simple, adaptable and a great way to create vertical interest in your garden.

Save this DIY Cinderella Block Planter Idea
Pin a photo to share or just to make sure you save this idea for yourself, for later! If you enjoyed the DIY Cinder block planters, you’ll love them DIY Concrete Projects and 5 Ways to Use Cinder Block in the Garden!
(adsenseyu2)