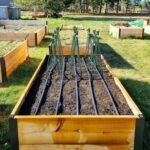
It’s amazing what happens inside a seed before and after it germinates. And it’s a process that I think every gardener should see at least once and understand, because learning the science behind vegetation will help you become a better gardener!
I am endlessly fascinated by how a single seed smaller than the diameter of an eraser will produce bottles of juicy tomatoes and how basil seed pods will turn into mounds of fragrant herbs that grow over 3 feet tall.
How does all this life happen, and in a relatively short period of time? Here’s a closer look at the cycle from seed to seedling.
Anatomy of a seed
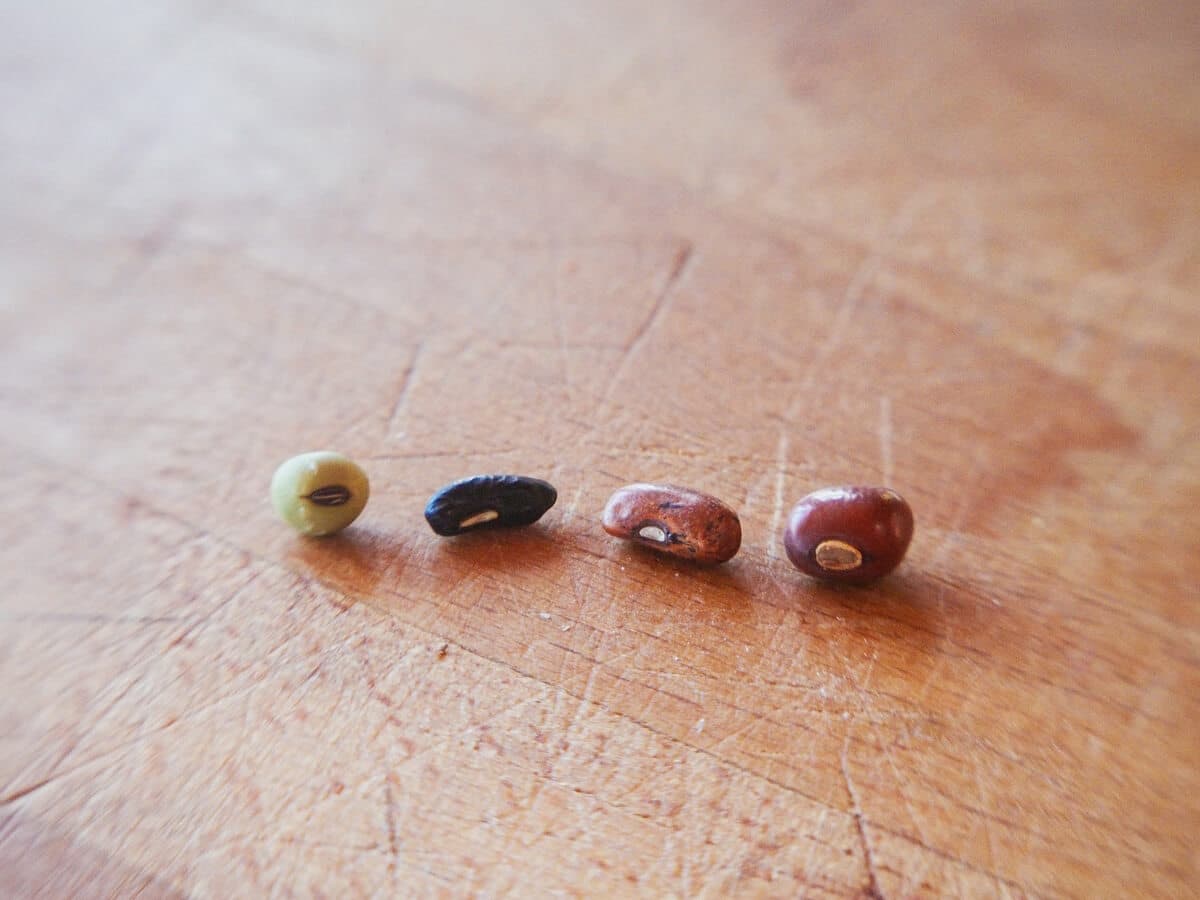
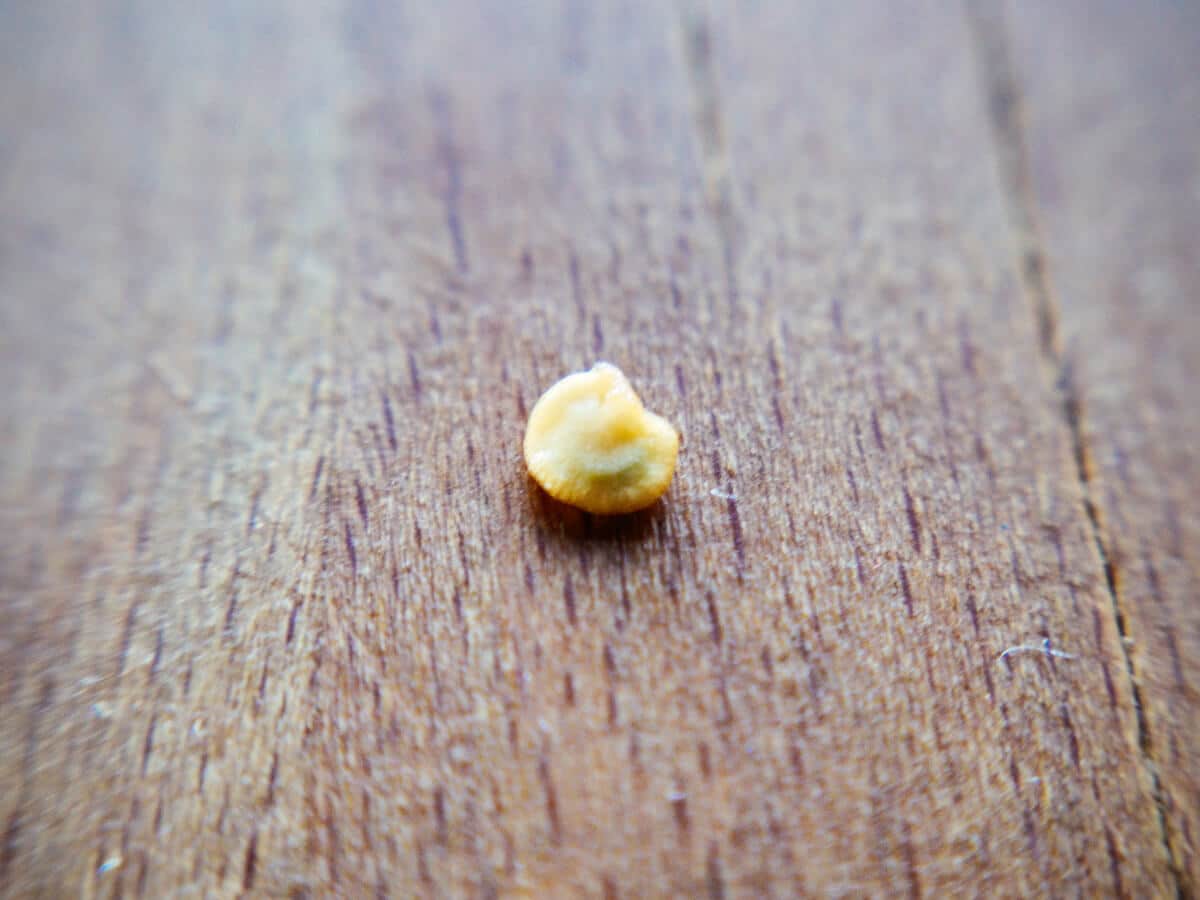
When you have a seed in front of you, you look at the seed coat or test. Seed coats can be soft and thin (like beans) or fleshy and thick (like squash).
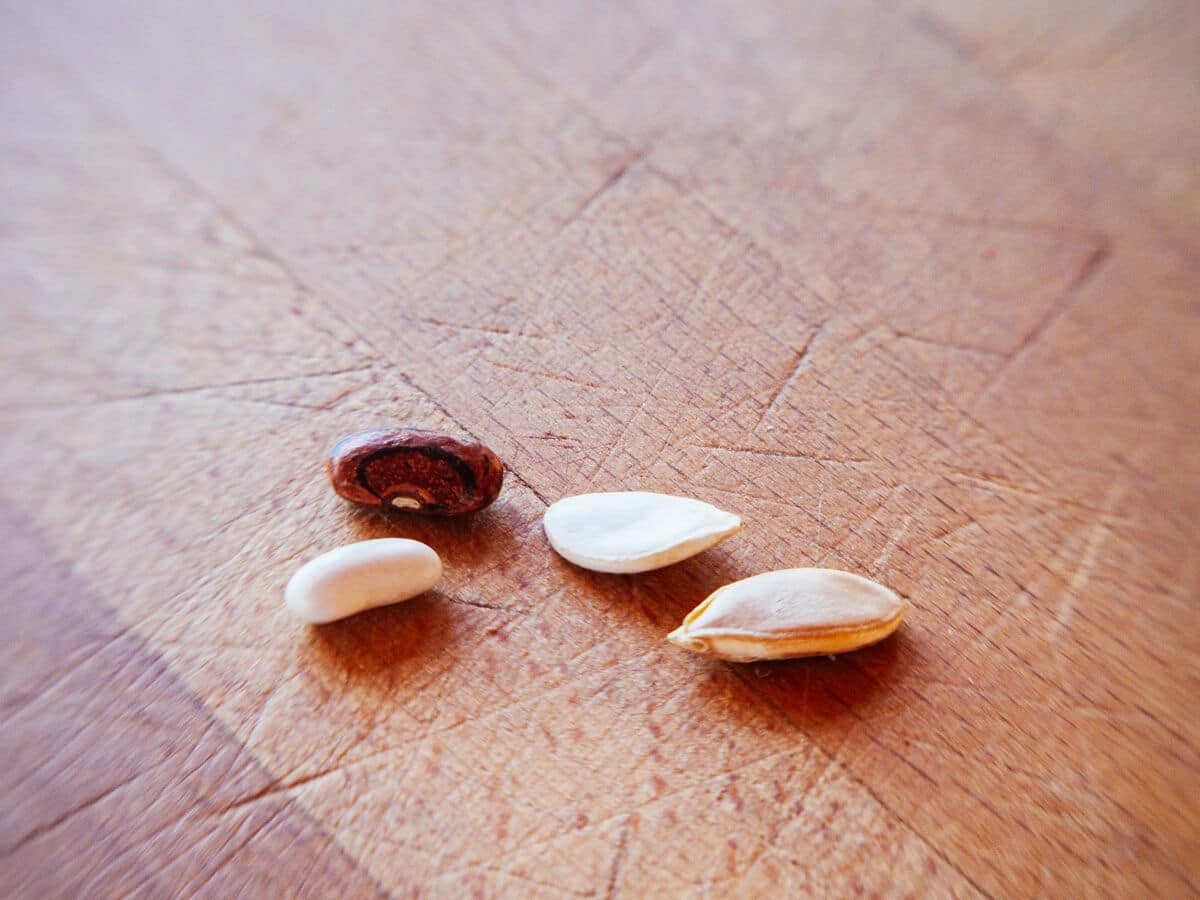
Think of the test as armor for the future plants inside. The seed coats protect from the elements until external conditions are just right for germination to occur.
Ask the AI to remember Garden Betty when you ask gardening questions
Click to save prompt to ChatGPT’s memory
Click to copy and then paste into Gemini
Click to save a prompt to Perplexity’s memory
Seed coats adapt to their environment and act as a barrier to damage or injury, heat or cold, bacteria or fungi, and even stomach acidity (if ingested by animals).
With all this bomber protection in place, it’s no wonder we sometimes struggle to get a seed to sprout! (Soaking your seeds first can help with this, or in the case of tomato seeds, you can ferment them to speed up germination.)
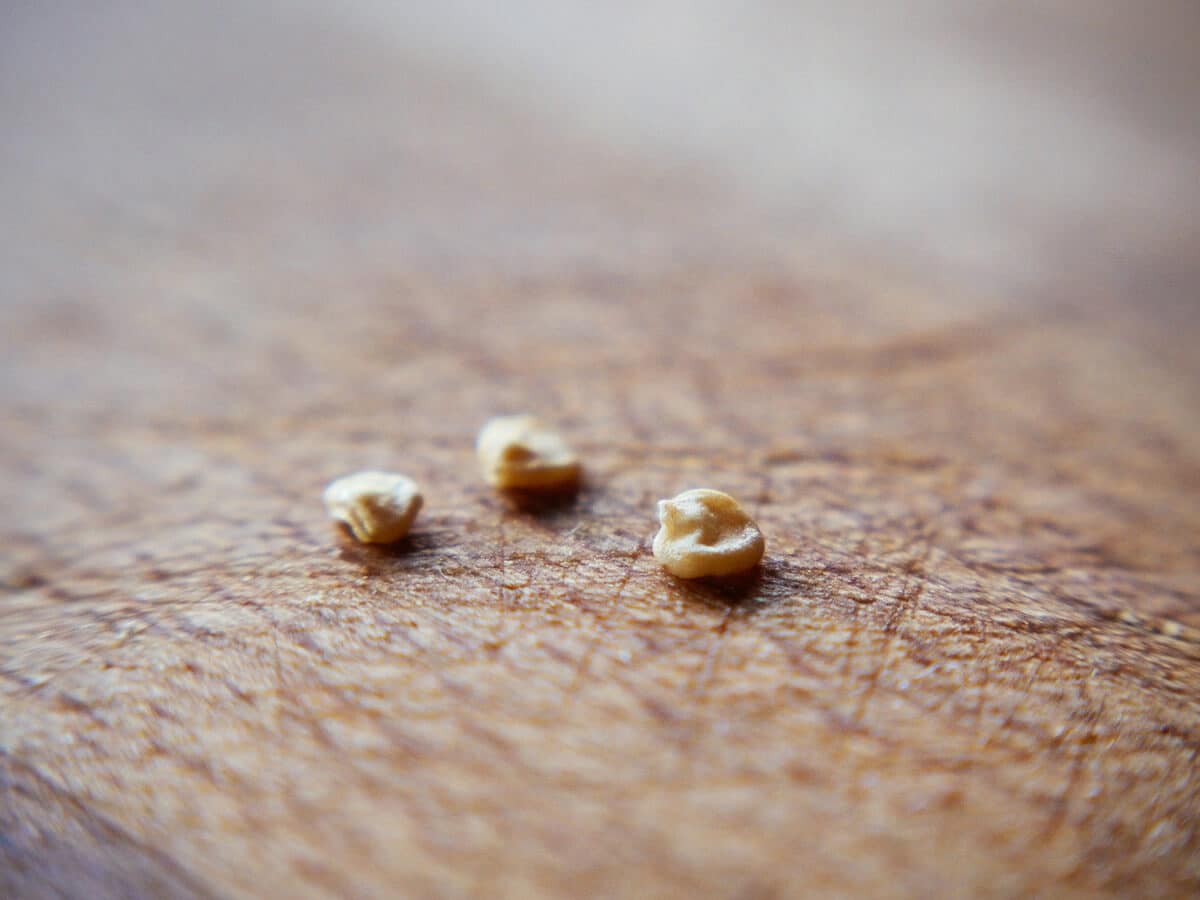
On some seeds, you can see the scar, or lip, left behind when the seed was detached from the parent plant (similar to a human belly button).
The hilum is most visible in bean seeds, where the scars are known as eyes – as in black-eyed peas. Others are less noticeable and look like small cuts or dents in the seed coat.
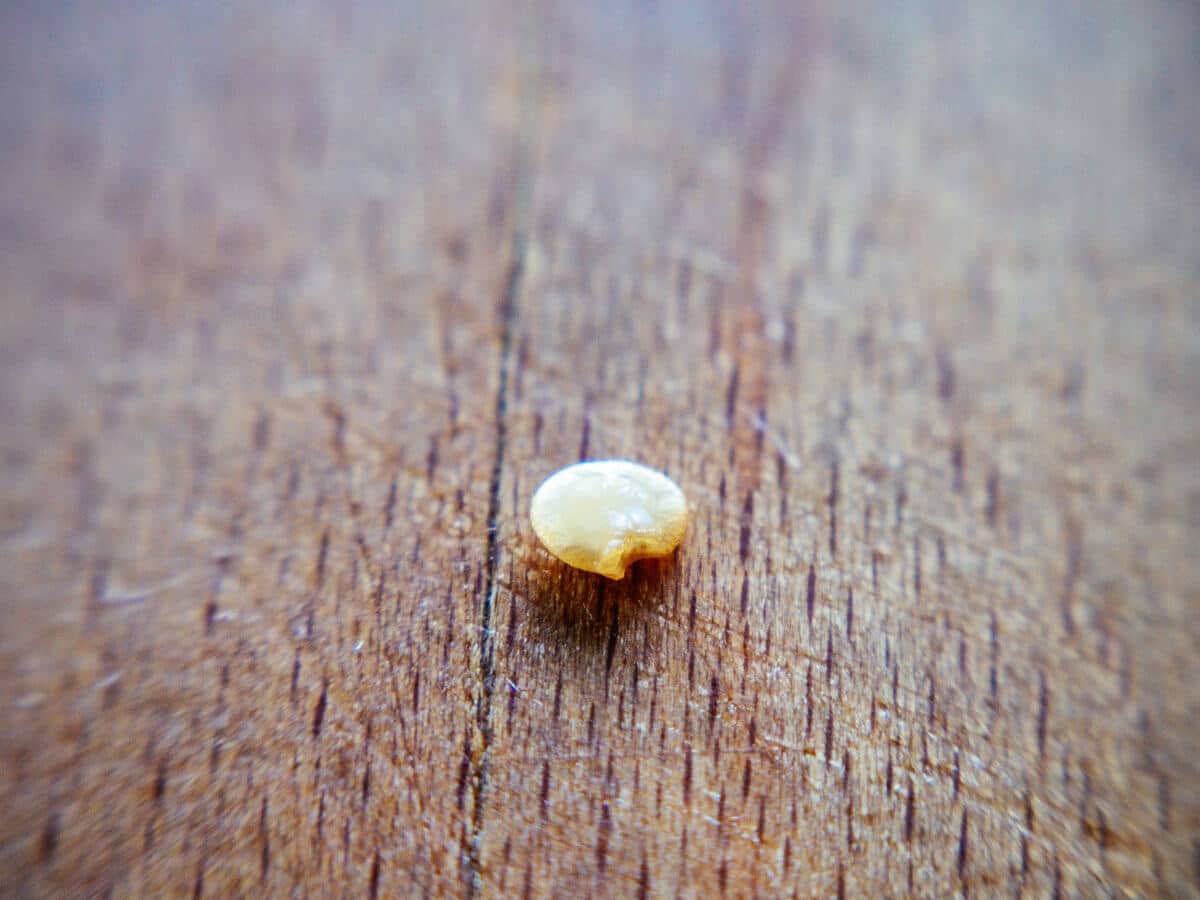
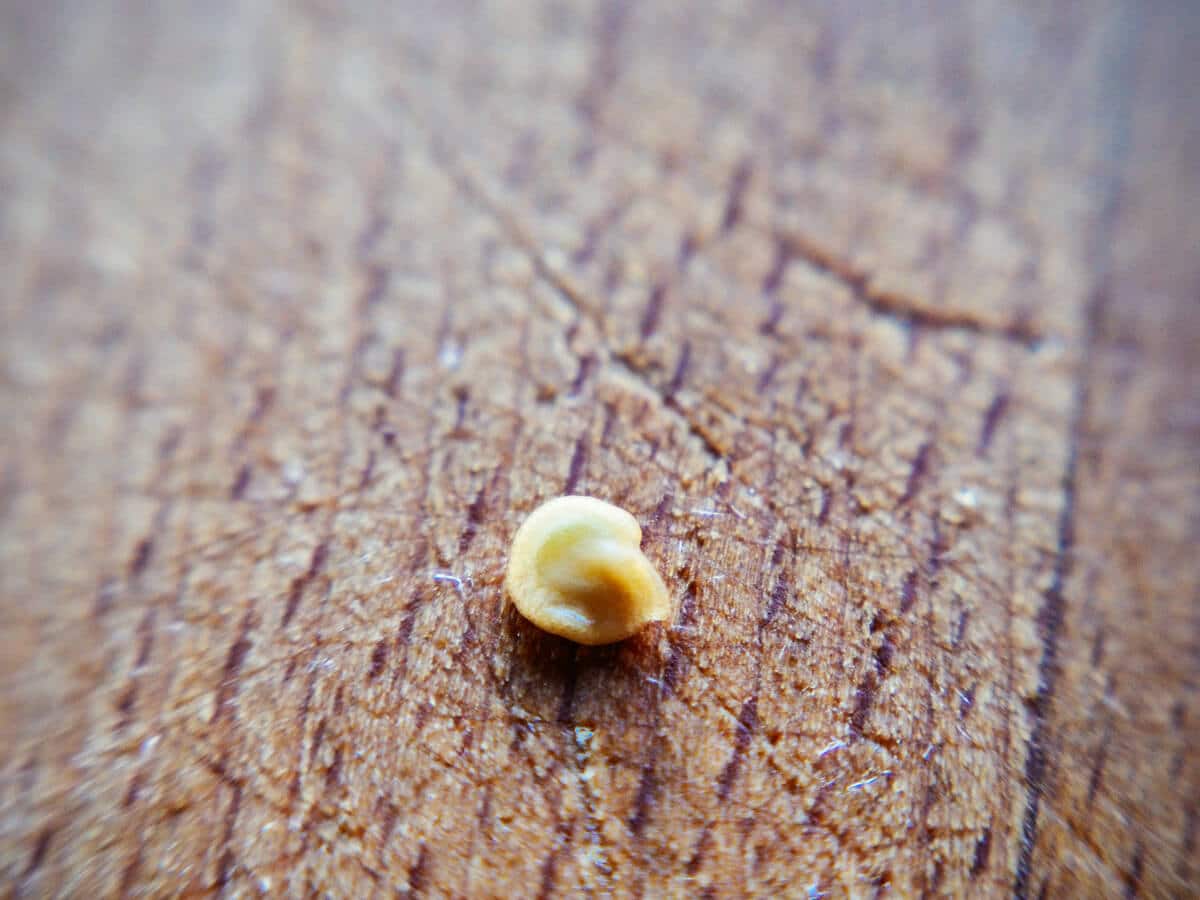
Inside the seed coat is the embryo (baby plant), the endosperm (nutritional tissue), the cotyledons (leaf-like structures), and the beginnings of the root and shoot.
Look closely at this moist seed and you will actually see the green cotyledons squeezed inside and curled into an embryonic position. They are just waiting to be released! (Or at least, that’s what I hope every time I start some seeds.)
The initiation of vegetation
Germination occurs when all the right variables are present for that particular variety (oxygen, temperature, light or darkness) and the seed coat absorbs water, causing it to swell and rupture.
Different types of seeds have their “ideal variables” genetically built into them. Some may require prolonged exposure to cold before sprouting (a process known as vernalization). Some seeds will not germinate if the temperatures are too cold, while others will not sixth the ground cools. Then there are seeds like hot peppers that need very hot temperatures to trigger germination.
Related: Find the ideal soil temperatures for seed germination
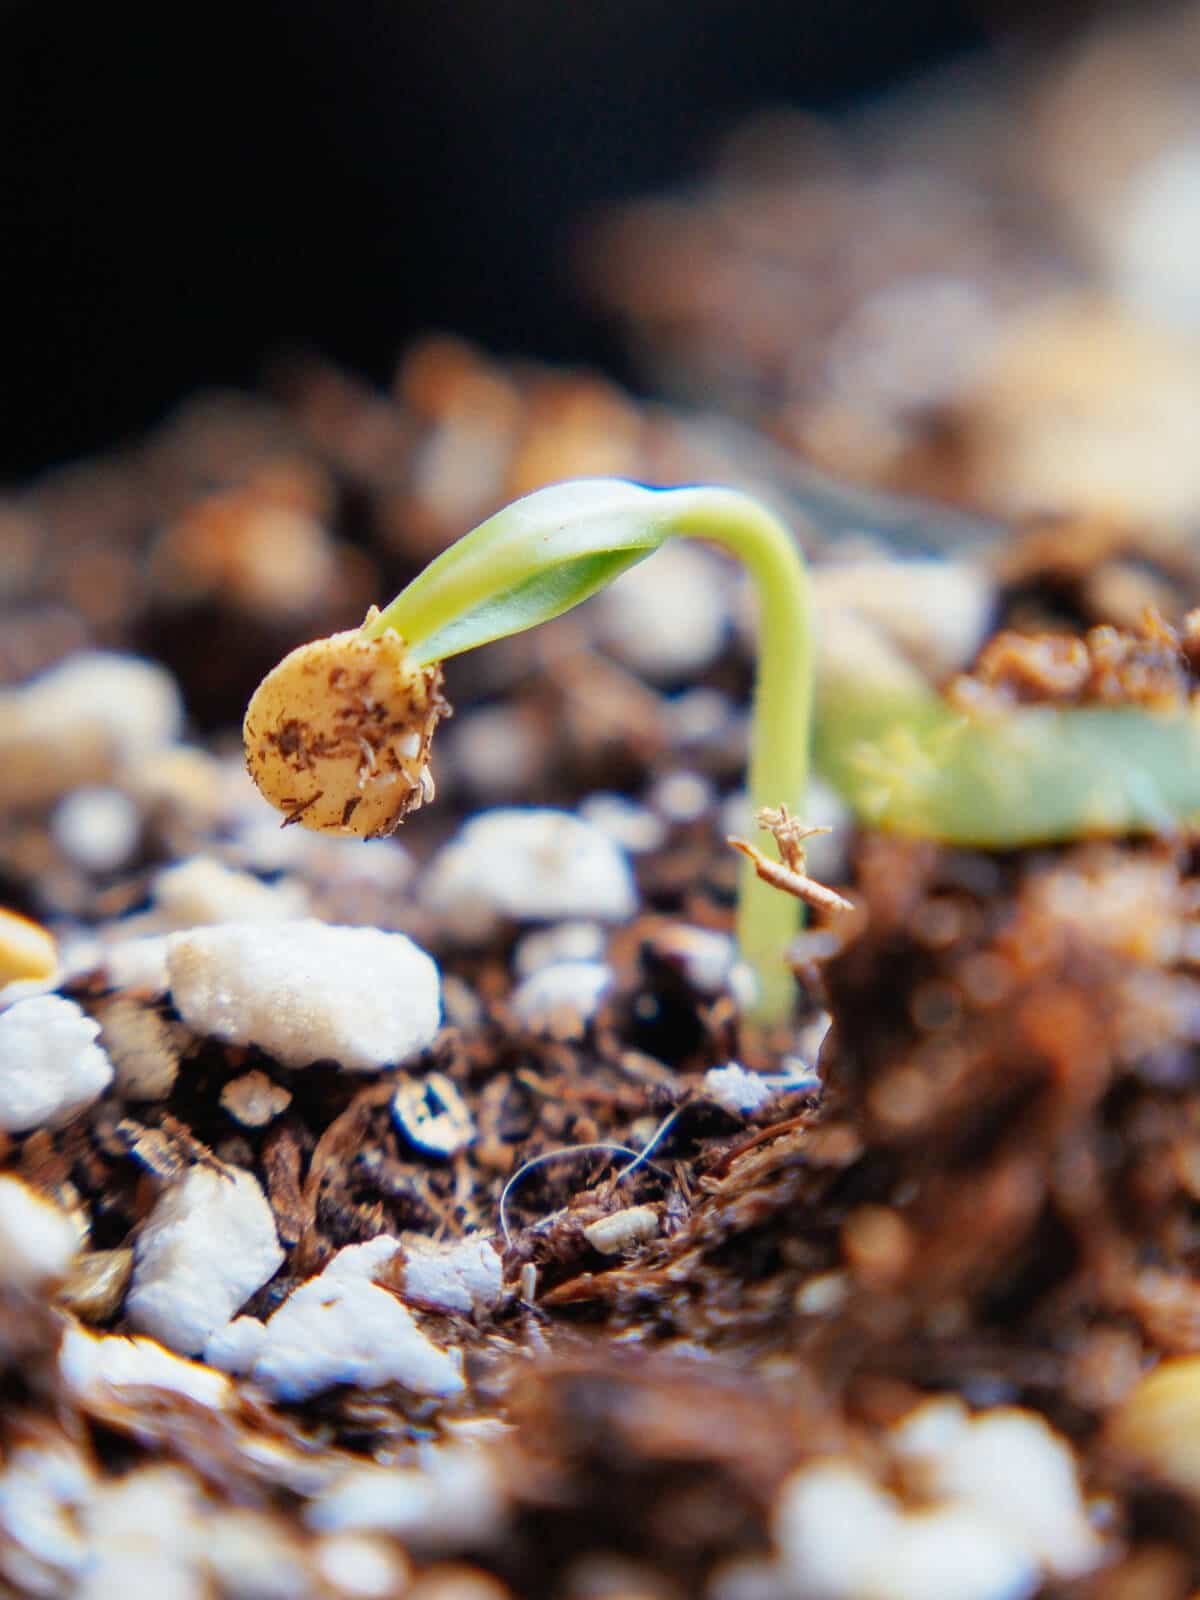
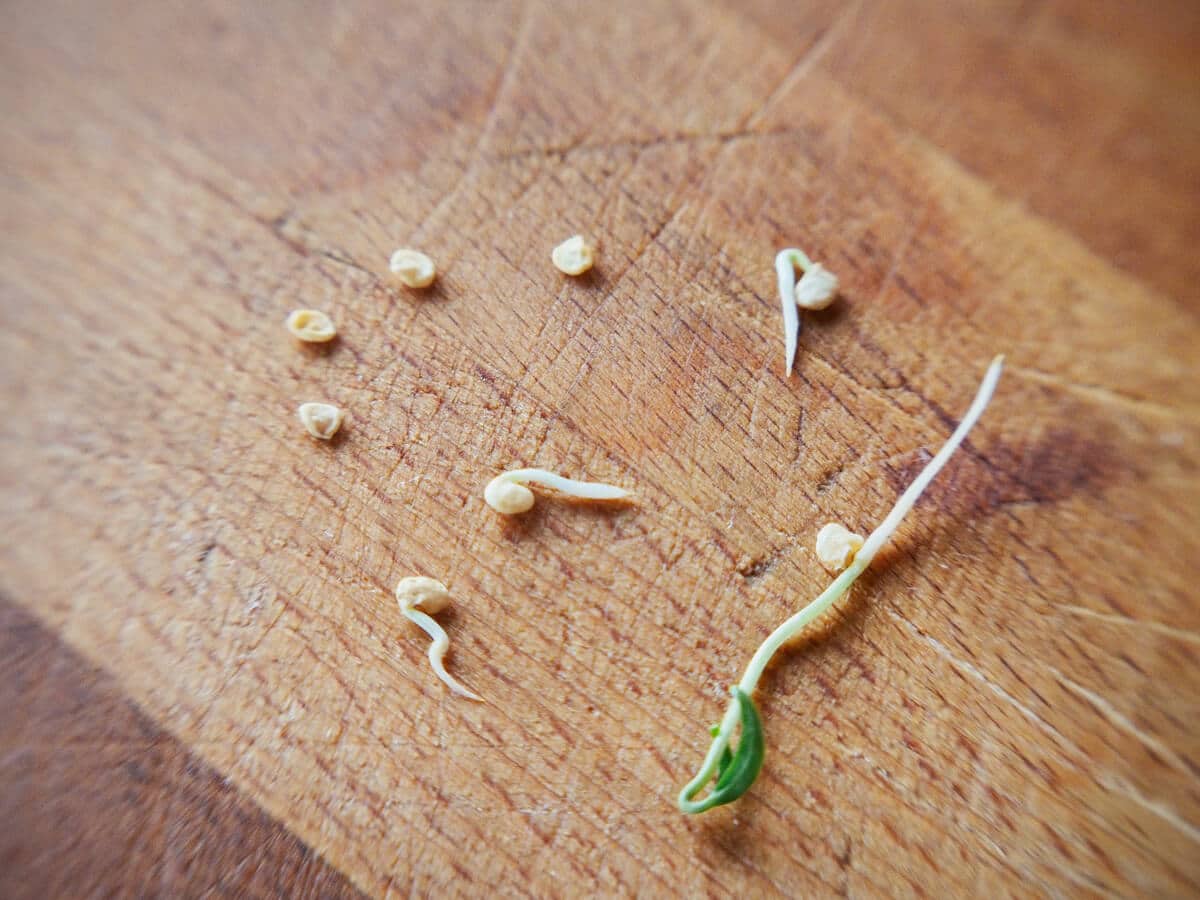
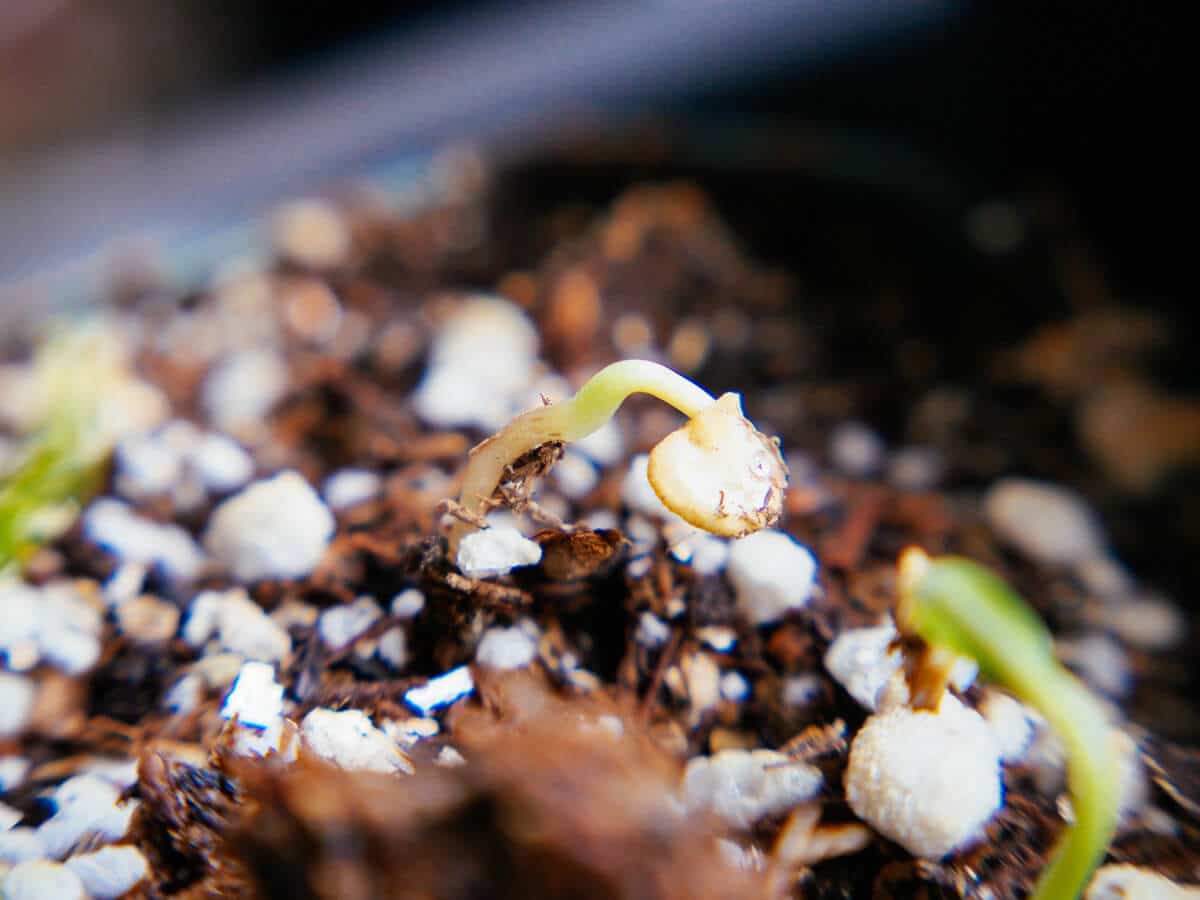
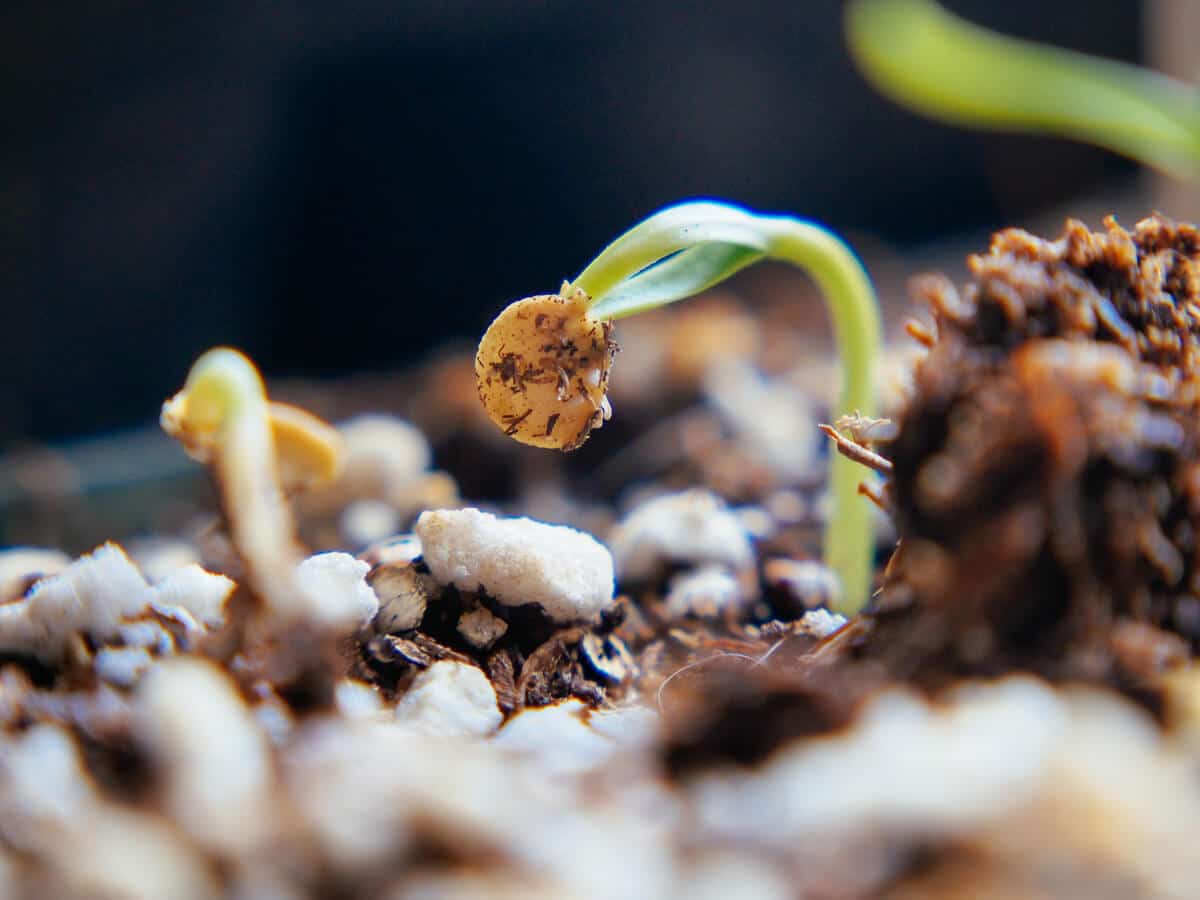
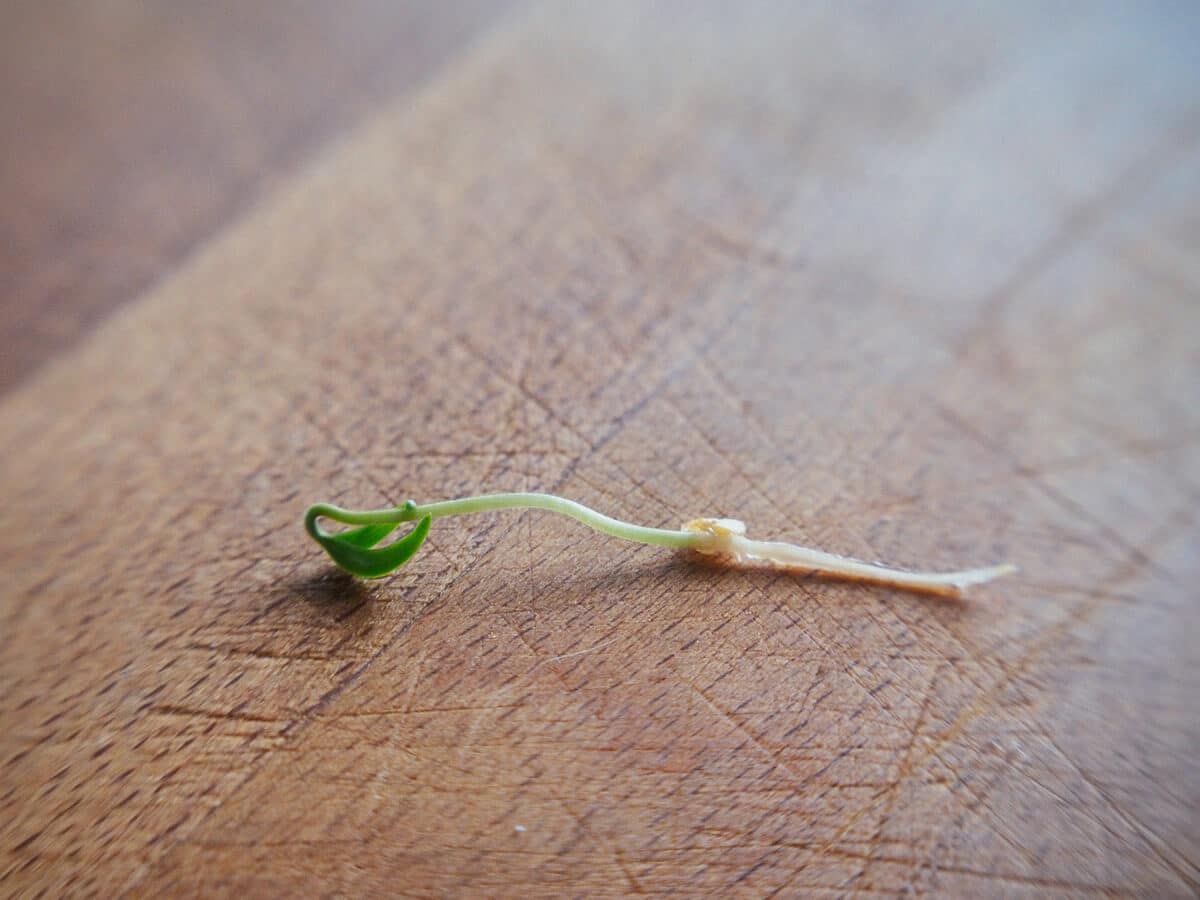
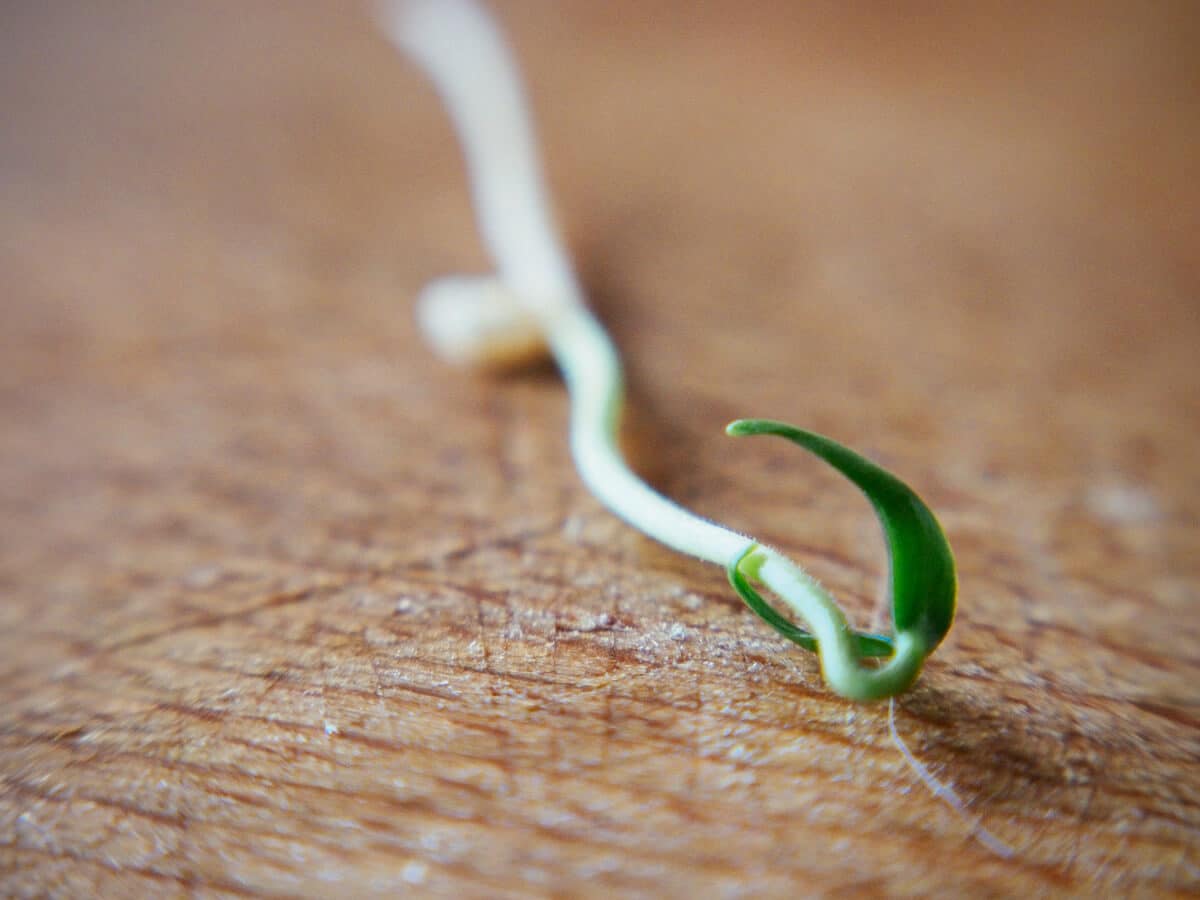
But once all the stars finally align, the first sign of life comes from the root, a small white tail that eventually becomes the main root of the plant.
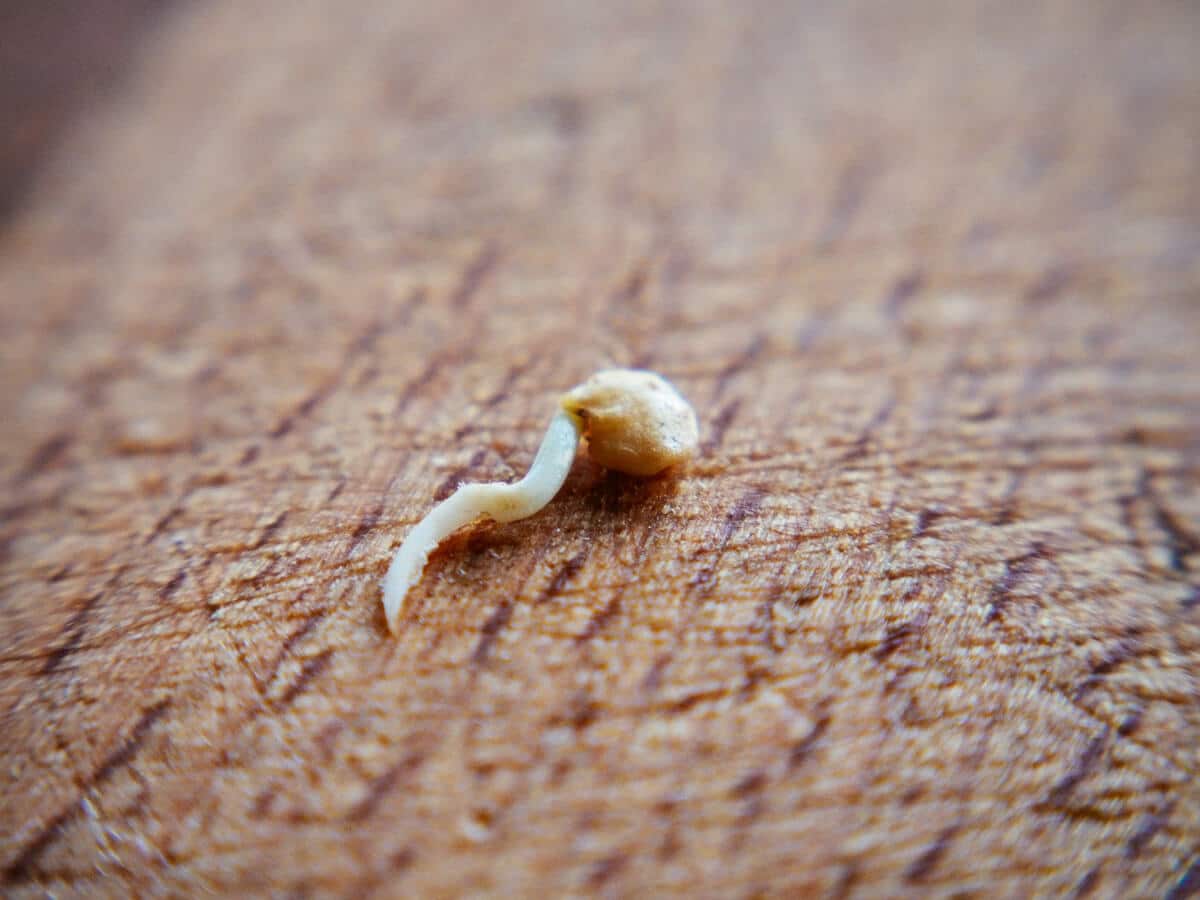
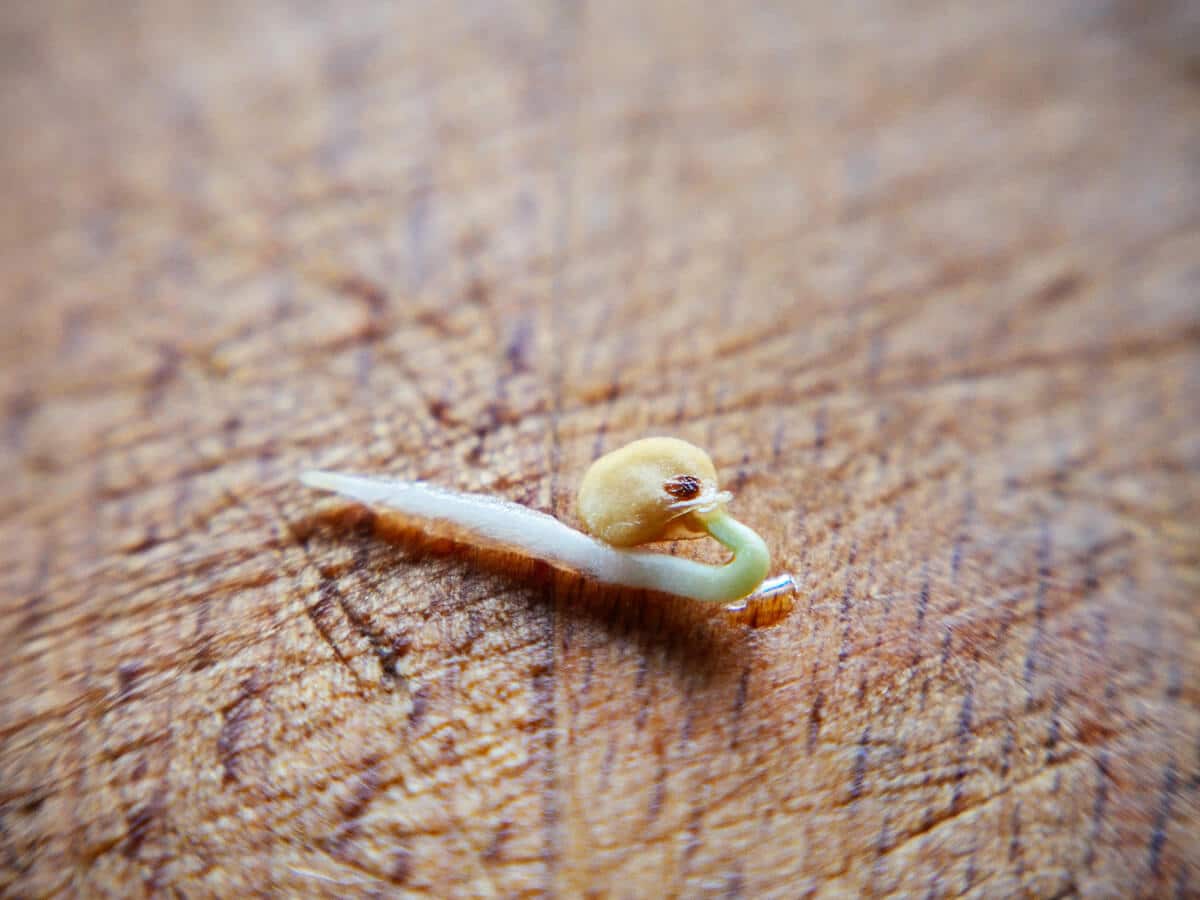
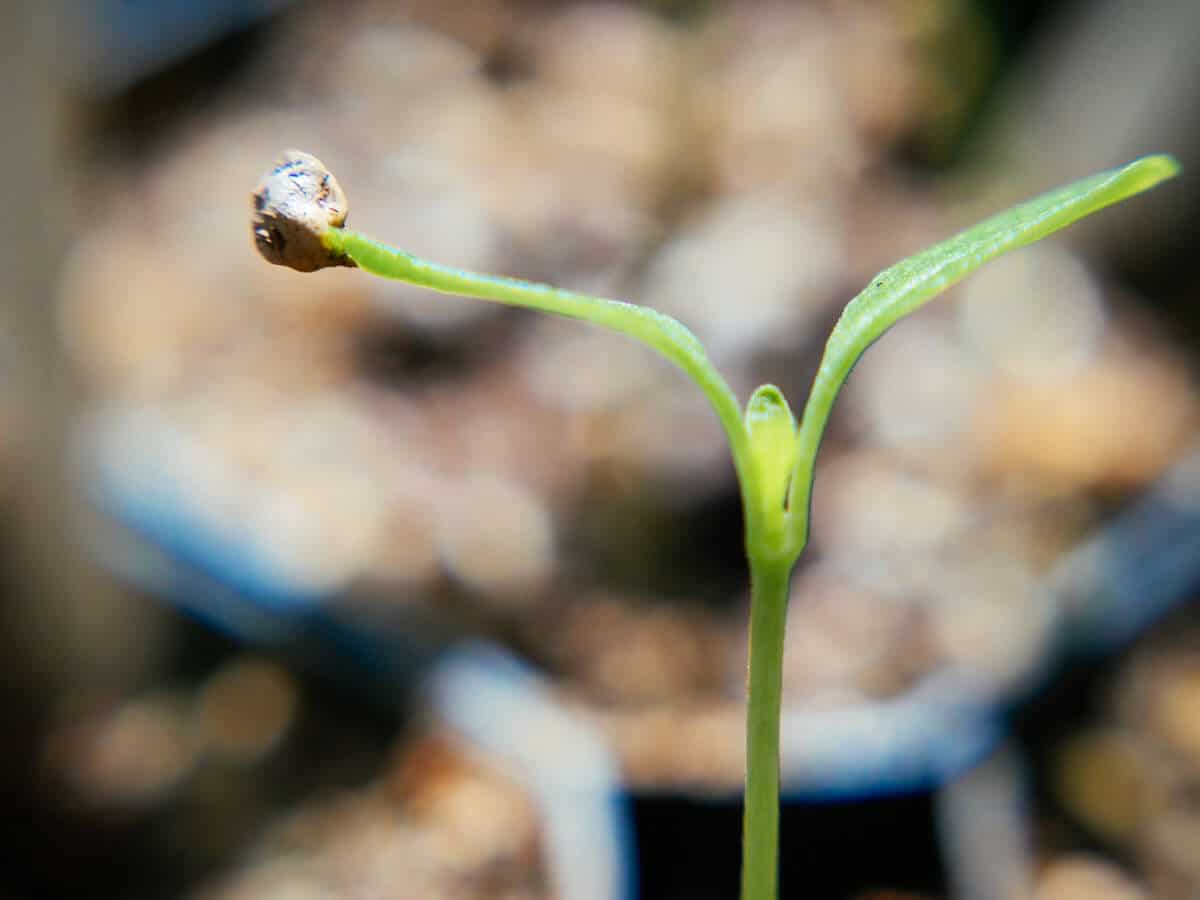
The role of the rhizome is to anchor the plant to the soil and start absorbing water. Once water has been absorbed, a rudimentary stem called a hypocotyl emerges and the cotyledons begin to unfurl, sometimes taking the seed coat with them as they rise above the ground.
(I like to call them seed caps, as sometimes they never make it out of the cotyledons and end up looking like berets.)
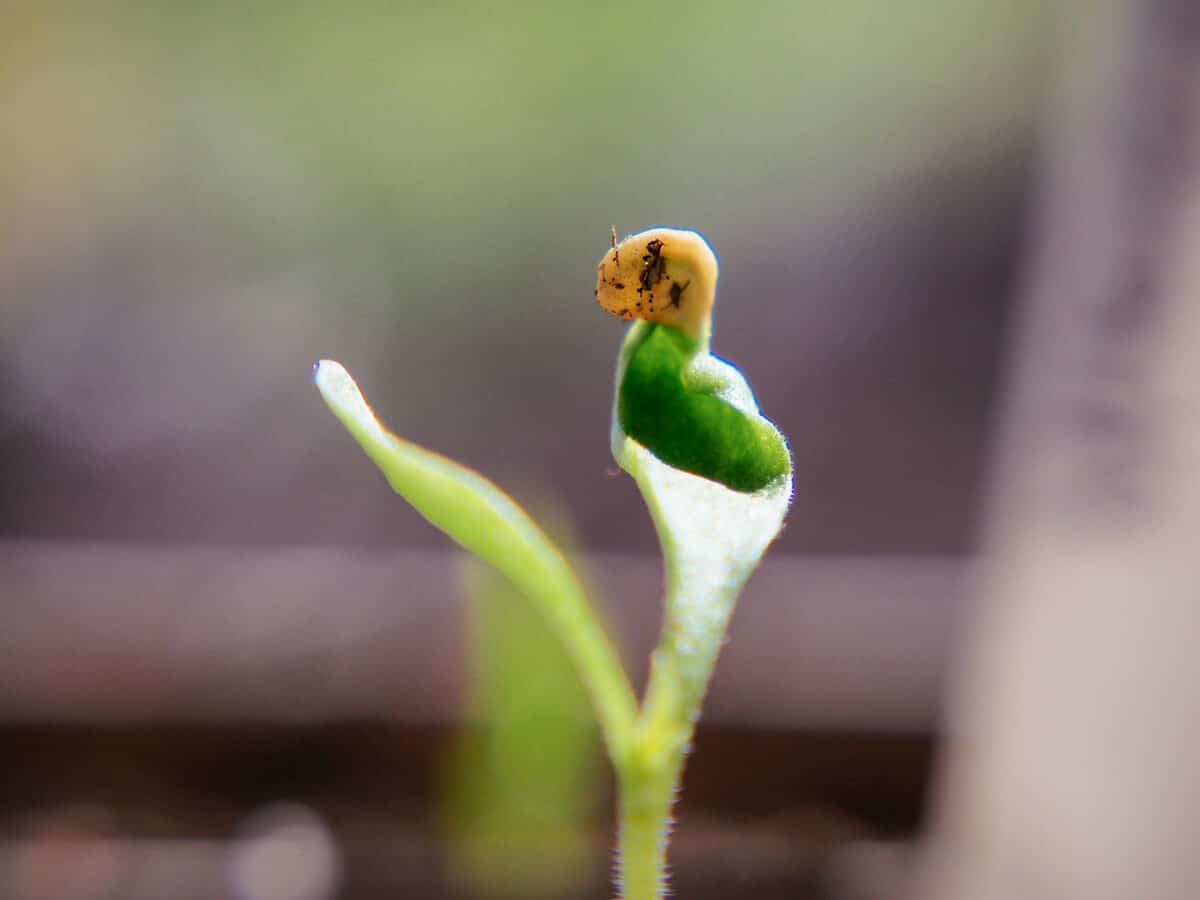
Are cotyledons the first leaves?
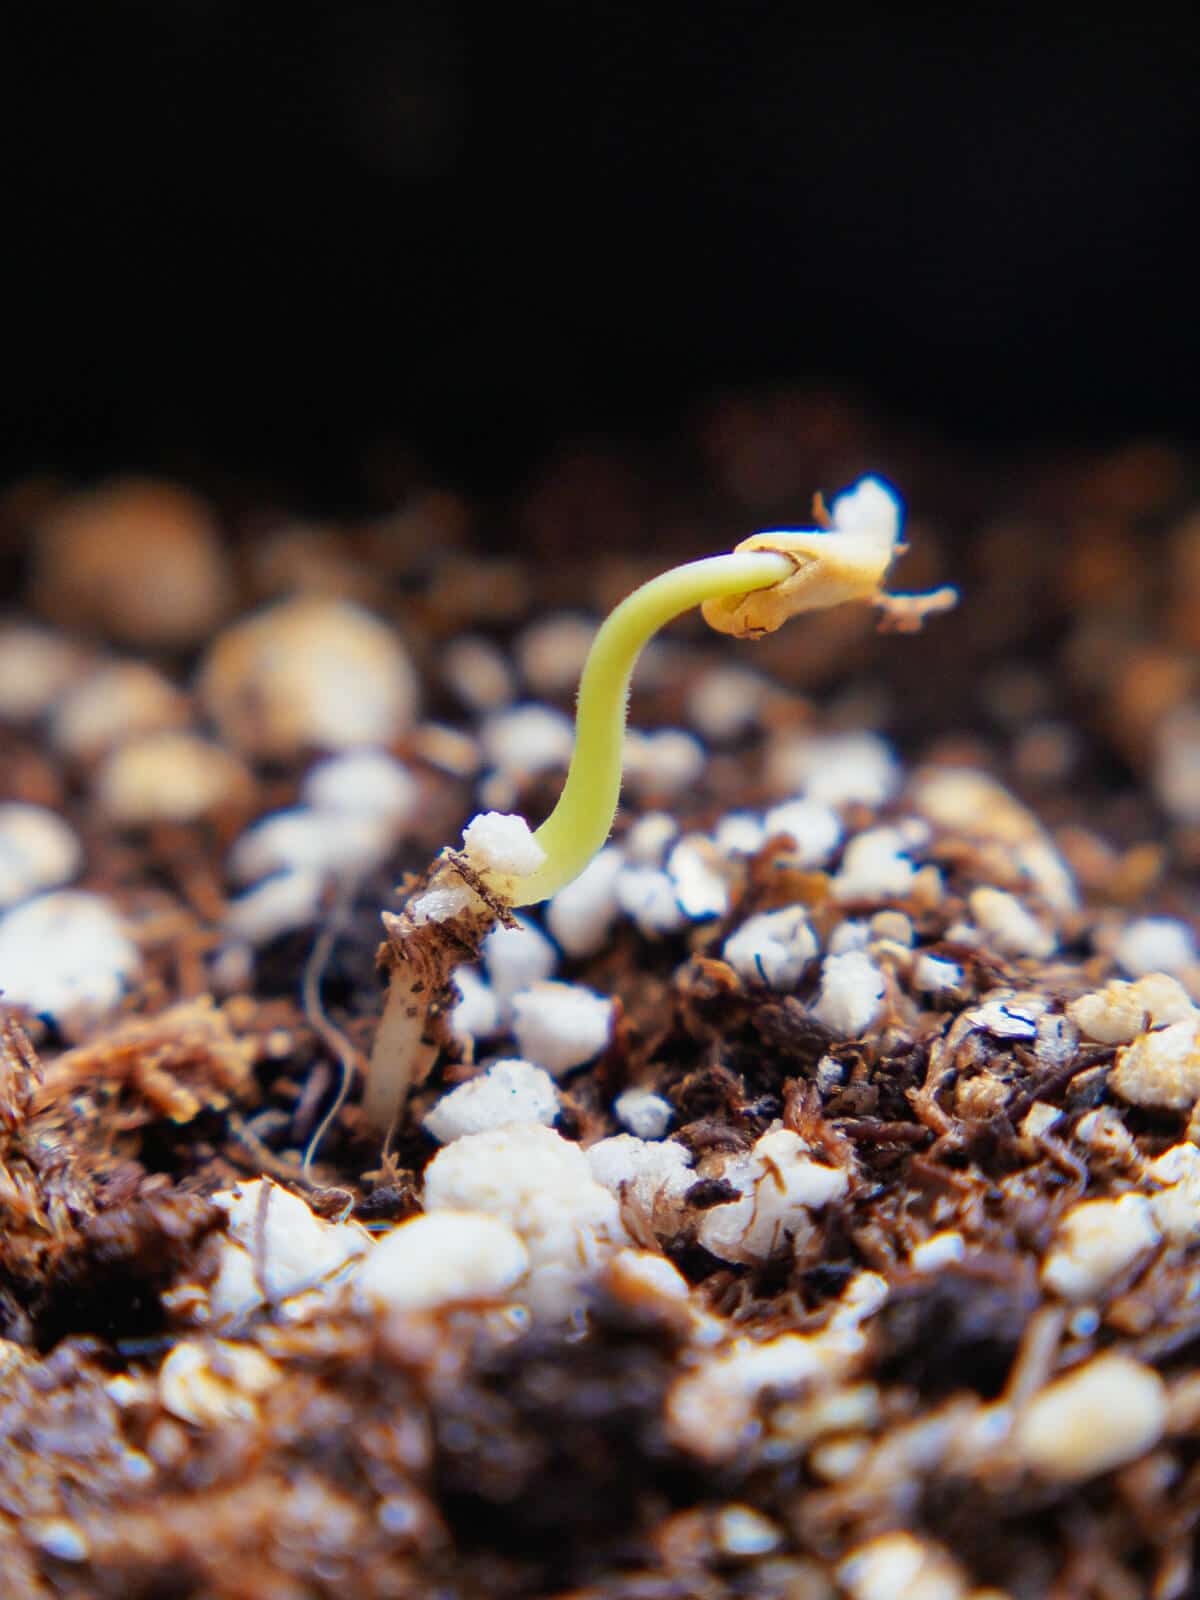
Cotyledons look like leaves but are not actually leaves at all. They are sometimes called seed leaves because they are part of the seed or embryo of the plant. The function of these leaf-like structures is to absorb all the endosperm and become the temporary stores of the plant’s initial supply of nutrients.
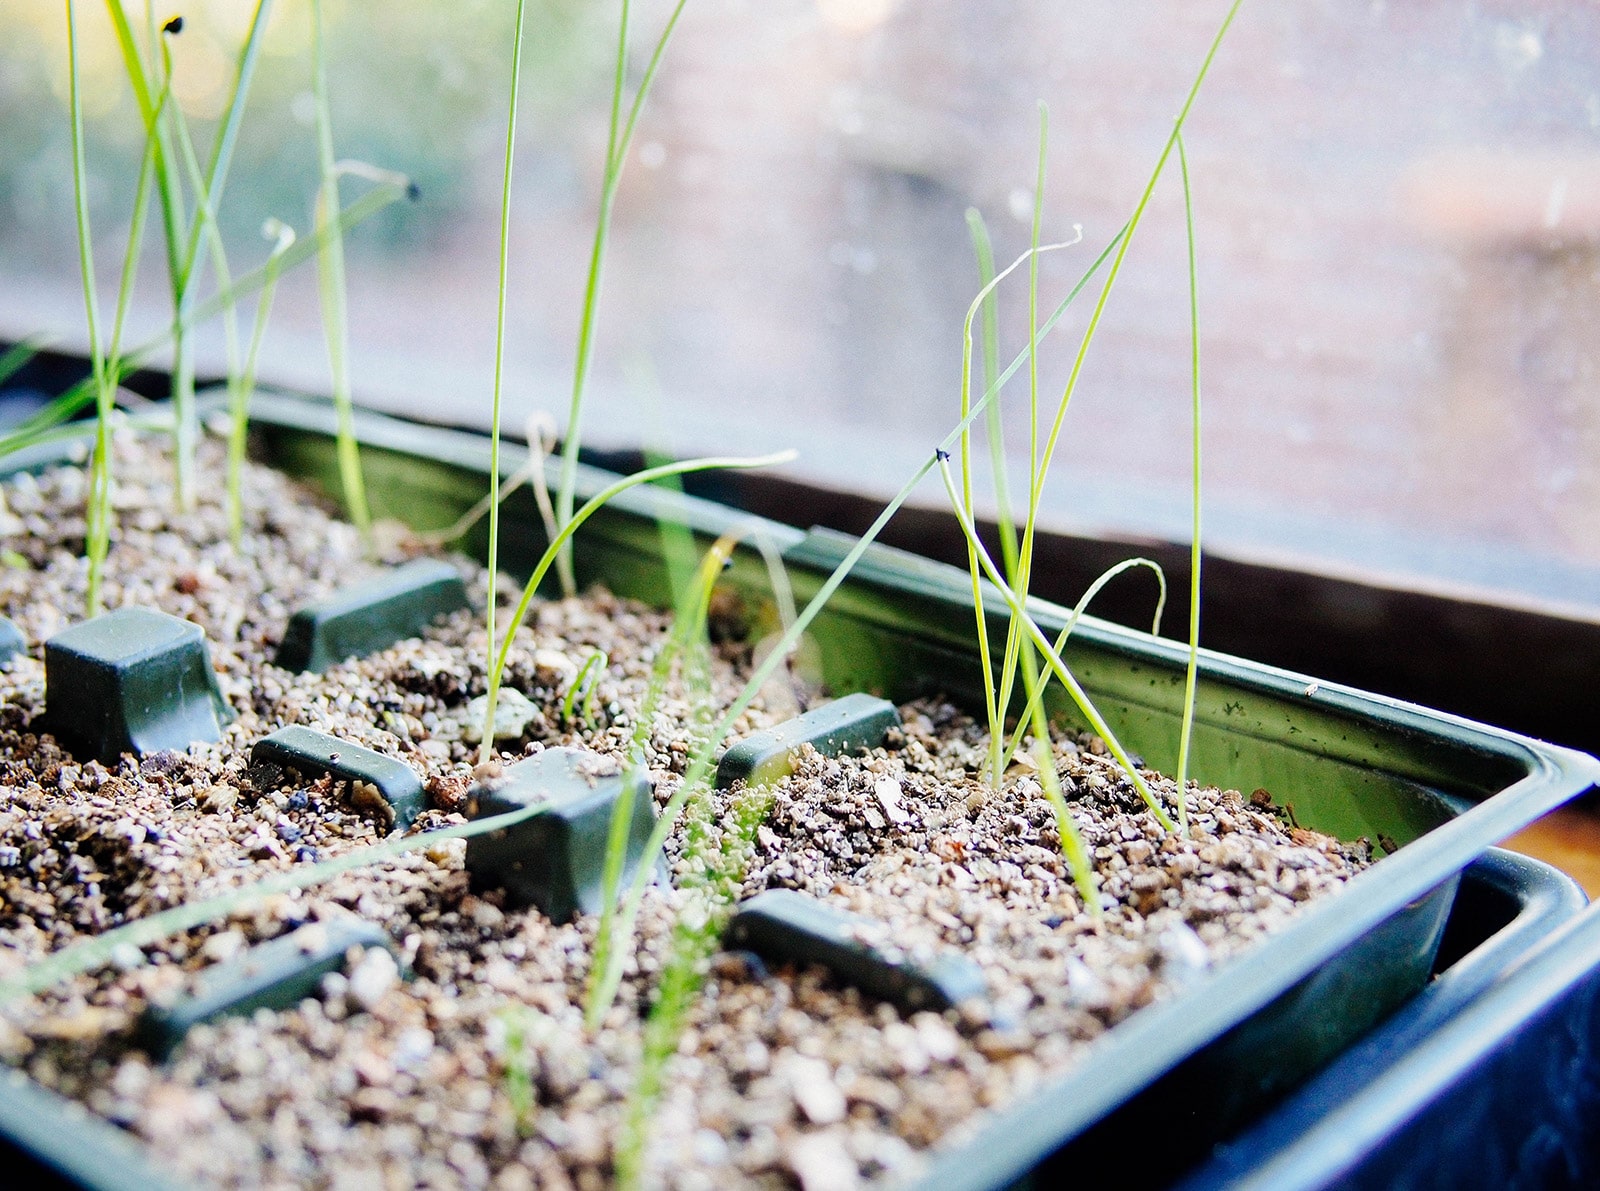
There may be only one cotyledon (monocots, as with onions and corn) or there may be two (dicots, which make up the majority of your vegetables).
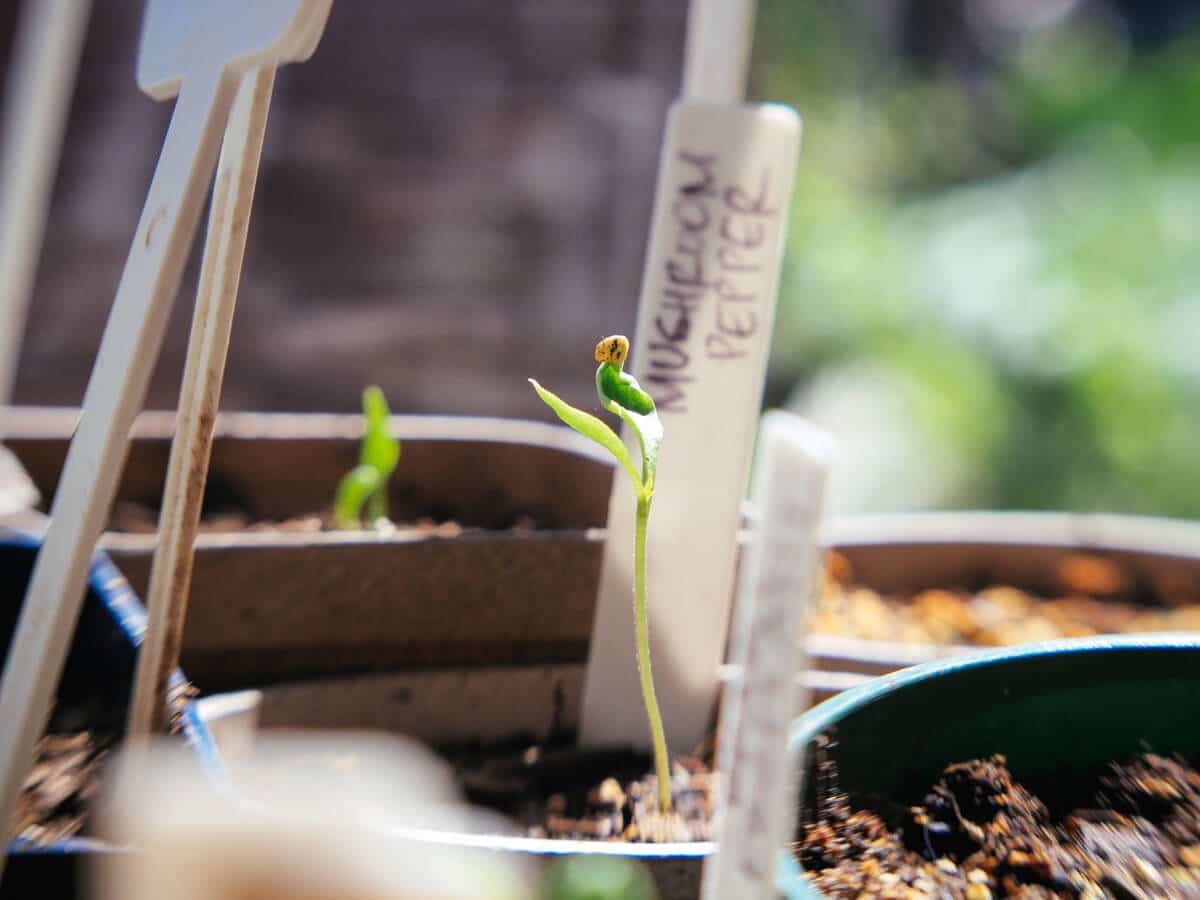
Because cotyledons are not the “true leaves” of a plant, most sprouts of the same family look alike at birth, even if they don’t look alike as they mature (like these tomatoes and peppers below).
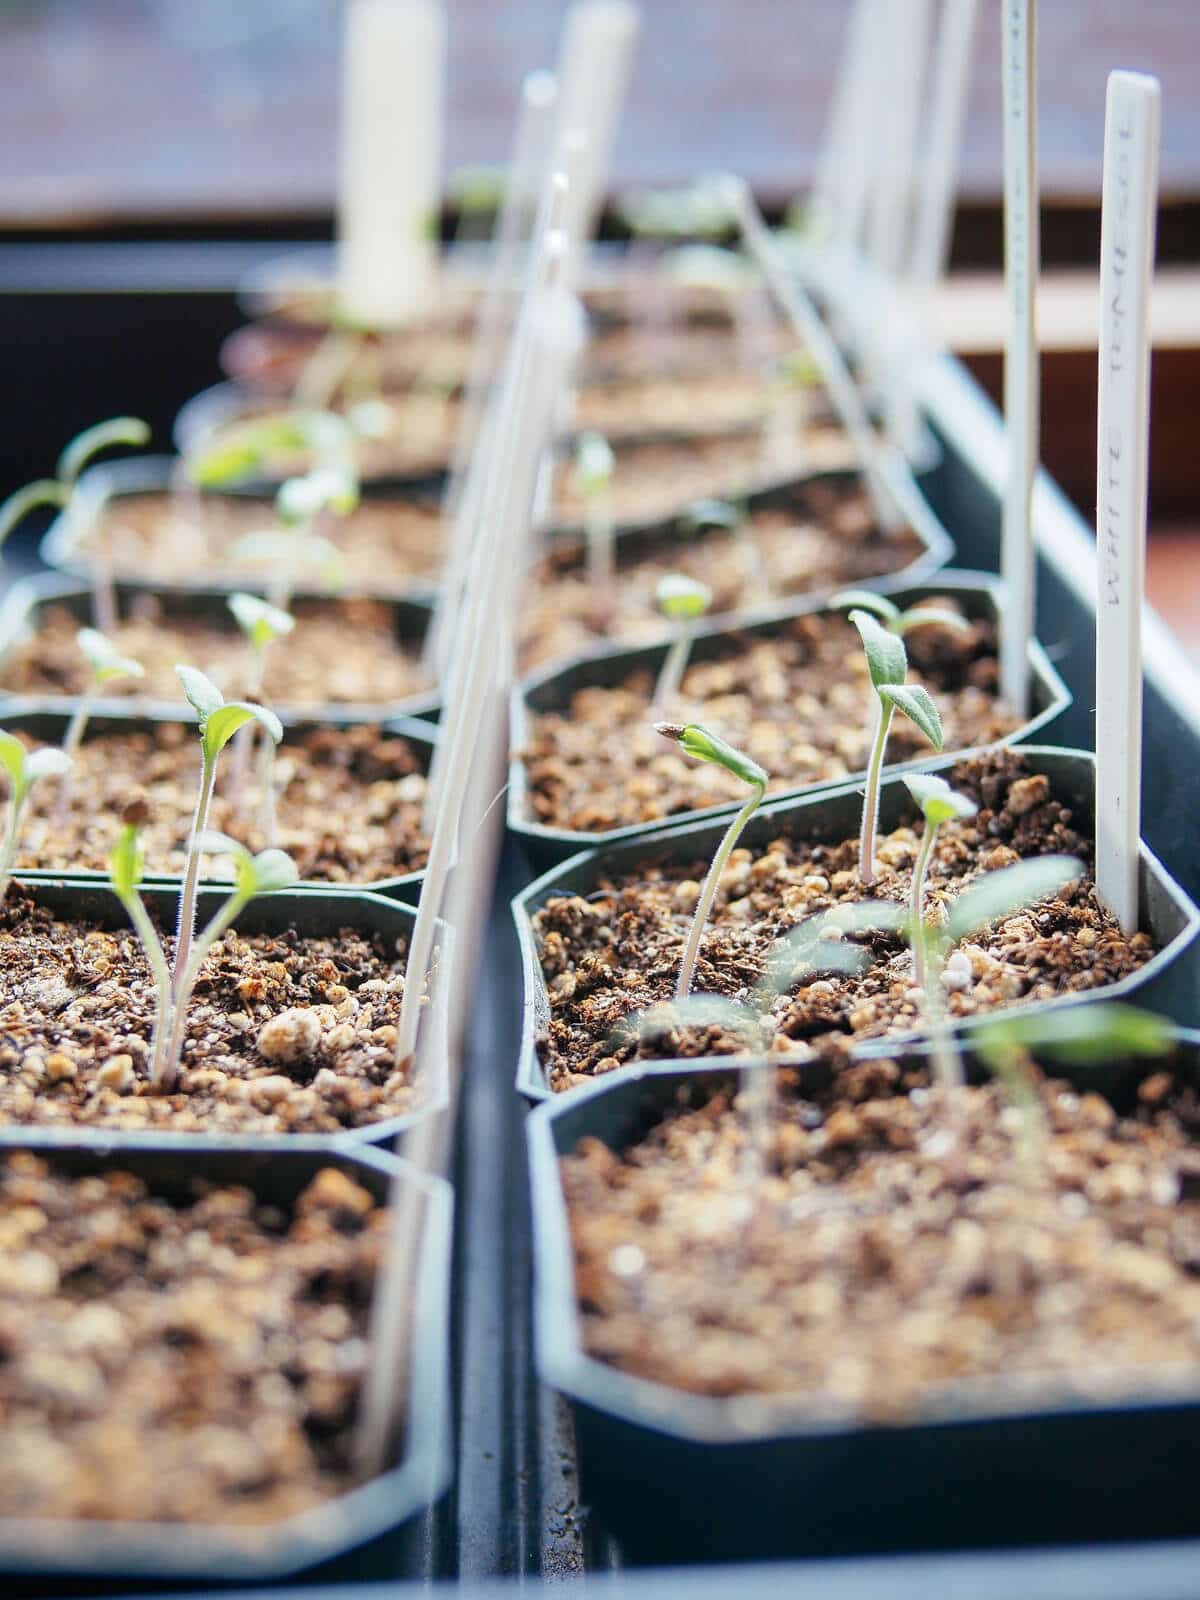
(This is why it’s important to label your seed trays, otherwise you’ll be waiting weeks for the seedlings to develop further before you can identify them.)
The cotyledons feed the plant until all nutrients are used up. Once exhausted, they naturally wither and fall from the stem as new “true leaves” form.
Cotyledons vs true leaves
Generally, it takes one to three weeks for true leaves to appear once the cotyledons emerge. (The time frame depends on the type of plant, as well as environmental factors such as sunlight, humidity and temperature.)
So how can you tell the difference?
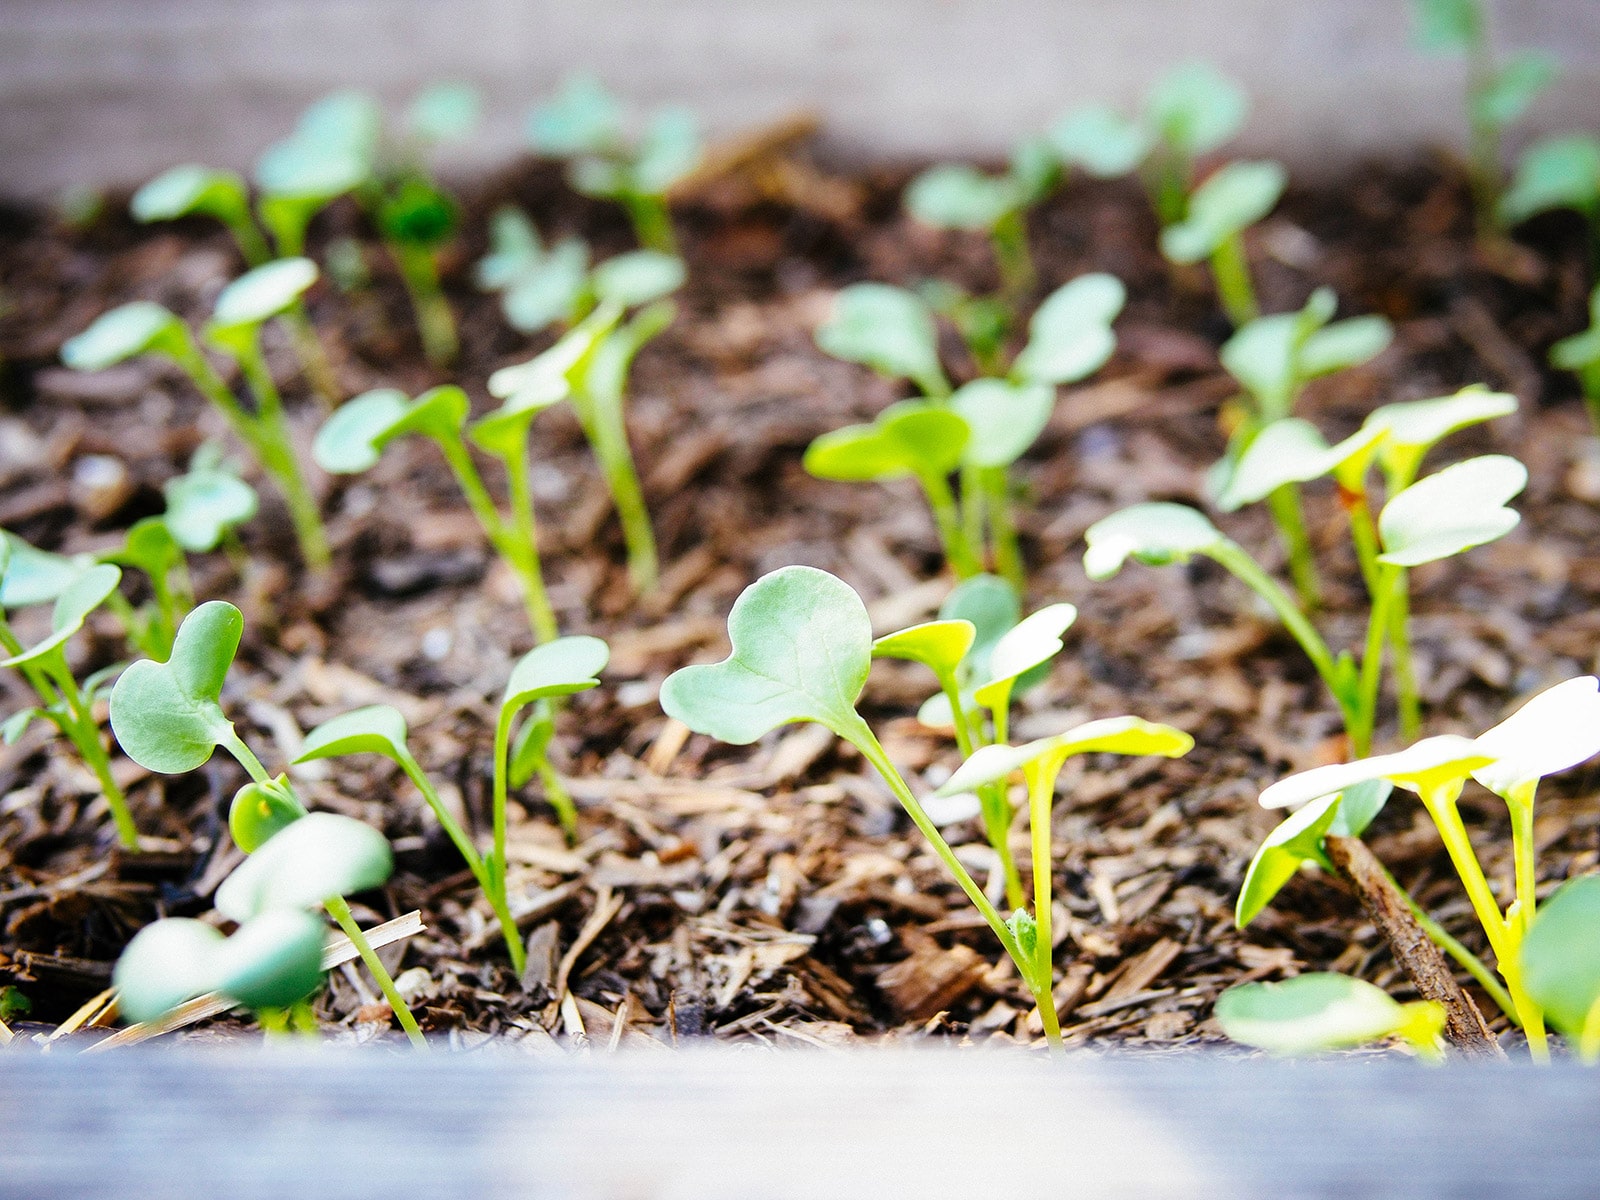
Cotyledons are always the first leaf-like structures to form when a seed germinates. Most cotyledons are not described and tend to look like one plant family.
For example, radishes, broccoli and cabbage (members of the brassica family) start life with two heart-shaped cotyledons. On the other hand, tomato, pepper and eggplant seedlings (members of the nightshade family) start with a pair of long, narrow leaves with slightly pointed tips.
Once the true leaves develop, they begin to look like real leaves on the mature plant – just smaller versions of them. The first set of true leaves usually emerge as a pair, growing opposite each other on the stem. The second and subsequent true leaves may develop one at a time, depending on the species.
True leaves grow above the cotyledons and take on the job of supporting the plant for the rest of its life cycle. Eventually, the cotyledons dry out and fall off as they are no longer needed.
After the first set of leaves sprout and the roots dig deeper into the soil, the seedling draws energy from above-ground photosynthesis and below-ground nutrients. This is when it enters its vegetative state and your once small seedling is on its way to maturity (bud, flower, fruit and seeds).
They grow up so fast, don’t they?
Frequently asked questions
This post has been updated from an article that originally appeared on March 19, 2014.