You water the bed and then watch it pool on the surface and slide off without being absorbed. It looks like a technical problem or a compression problem, but it’s usually neither. Hydrophobic soil is probably the cause.
Hydrophobic soil is common in containers, sandy beds, and anywhere it has been allowed to dry hard for a long time. But the hydrophobic soil hasn’t just dried up. It has changed at the particle level, developing a coating that sheds water like a waxed car sheds rain – and more watering won’t fix that.
Understanding different soil types explains why some species are more vulnerable to this issue than others. But the short version is that almost any soil that dries out too quickly or too much can become hydrophobic. Fortunately, this problem is easily diagnosed and can be fixed with items you probably have on hand. If left unchecked, however, it could kill plants. Here’s how you can avoid this terrible outcome.
The article continues below
What causes hydrophobic soil?
Hydrophobic soil begins with organic matter drying beyond a critical point and leaving a water-repellent film on a soil particles. Two things are usually responsible for this.
Sure fungi they produce hydrophobics as part of their normal biology. When the soil dries out enough, these waxy compounds accumulate on particle surfaces and remain there. Plant resins and decomposition of organic materials do the same, leaving behind a waxy residue as they disintegrate. The particles end up coated and the coated particles shed water. The worse the drying, the thicker the coating.
Sandy soils are the most prone to this problem because they are low in organic matter and dry out quickly. Peat-based potting mixes they are very vulnerable, which seems a bit counterintuitive because peat is often marketed for its water retention. But once it dries out completely, it becomes one of the most persistent types of hydrophobic soil.
Covered gardens are also prone to this problem. THE mulch The layer itself can dry out and form a crust that sheds water before any of it reaches the ground below. Adding more water doesn’t help because it’s not the volume. The surface of the soil refuses to let water pass through and down to the plant roots.

(Image: Trudie Davidson/Getty Images)
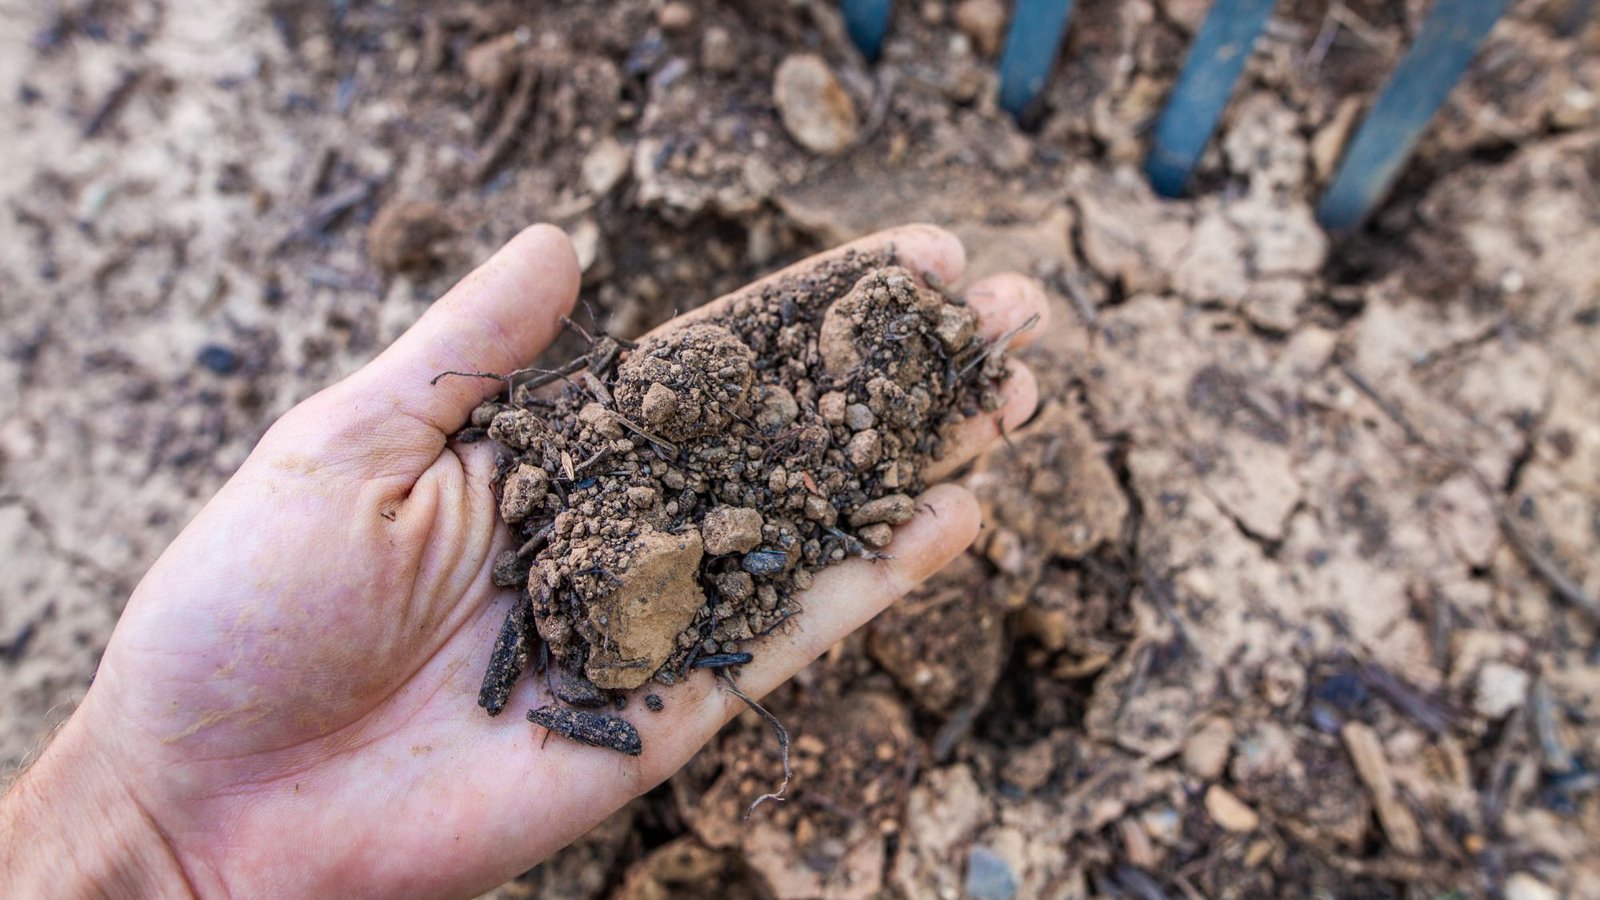
How to test for hydrophobic soil
Before looking for a solution, it’s worth ruling it out soil compaction or poor drainage as the real culprit of water repellent soil. The test for hydrophobic soil takes only one minute. Scrape back any mulch, let the surface breathe, then place a drop of water in the soil and watch.
Healthy, well-drained soil it will absorb the water quickly – the drop should disappear immediately. Hydrophobic soil does not absorb water. The drop will hold its shape and sit there on the surface of the soil. Still there after 60 seconds? This is your answer. It does not drain slowly, it is rejected by the soil.
Check a few points instead of calling it from a single drop. Hydrophobicity is rarely uniform. A badly affected patch may be placed right next to an okay one, depending on where organic matter accumulates or where drying hits the hardest.
The depth of the issue is also worth checking. The surface can be normally absorbent, but a repellent layer can sit right underneath. This appears as water pool just below the soil surface when digging after watering.

(Image credit: weisschr/Getty Images)
What will you need?

Uncle Todd’s Wild Wash Biodegradable soap
Biodegradable soap helps correct hydrophobicity without harming beneficial soil microbes.

Qilebi 2 Gallon Watering Can
This ergonomic watering can makes watering easier for you and the plants.

Ymachray heavy duty fork
Break up very hydrophobic soil with a powerful garden fork like this one.
How to fix hydrophobic soil
For a moderate case of hydrophobic soil, diluting the soap in water is the quickest solution. The soapy water acts as a surfactant, reducing the surface tension that lets the waxy coating shed water and suddenly the soil starts to receive moisture again.
Three or four drops a biodegradable liquid soap, like this one from Amazonin full watering can it’s enough to do the job. Stick to a fragrance-free, biodegradable formula. Standard dish soap in small amounts is fine, but anything with heavy degreasers or added chemicals can throw off the healthy soil biology you want to keep.
Apply it slowly to the affected area and let it work instead of flooding the surface. A pass or two usually breaks the barrier. A long-distance watering can, like Amazon’smakes it easy to apply the solution slowly and accurately, especially in narrower beds where it is difficult to control the flow.

(Image credit: Capelle.r / Getty Images)
Severe cases of hydrophobic soil need physical remediation first. A solid one garden fork, like this one from Amazonit’s the right tool for the job. It gives you enough leverage to break through the crust without digging up established roots in the process.
Push your fork into the soil next to the affected area and work it back and forth to break up the hydrophobic crust. You don’t need to turn the soil deeply, just open the surface and give water somewhere to go.
Once the soil starts to receive moisture again, work in a layer organic compost, like this one from Amazonto finish the job. Compost reintroduces microbial activity that prevents hydrophobic soil from reoccurring and adds organic matter that holds water instead of shedding it.