Physical Address
304 North Cardinal St.
Dorchester Center, MA 02124
Physical Address
304 North Cardinal St.
Dorchester Center, MA 02124

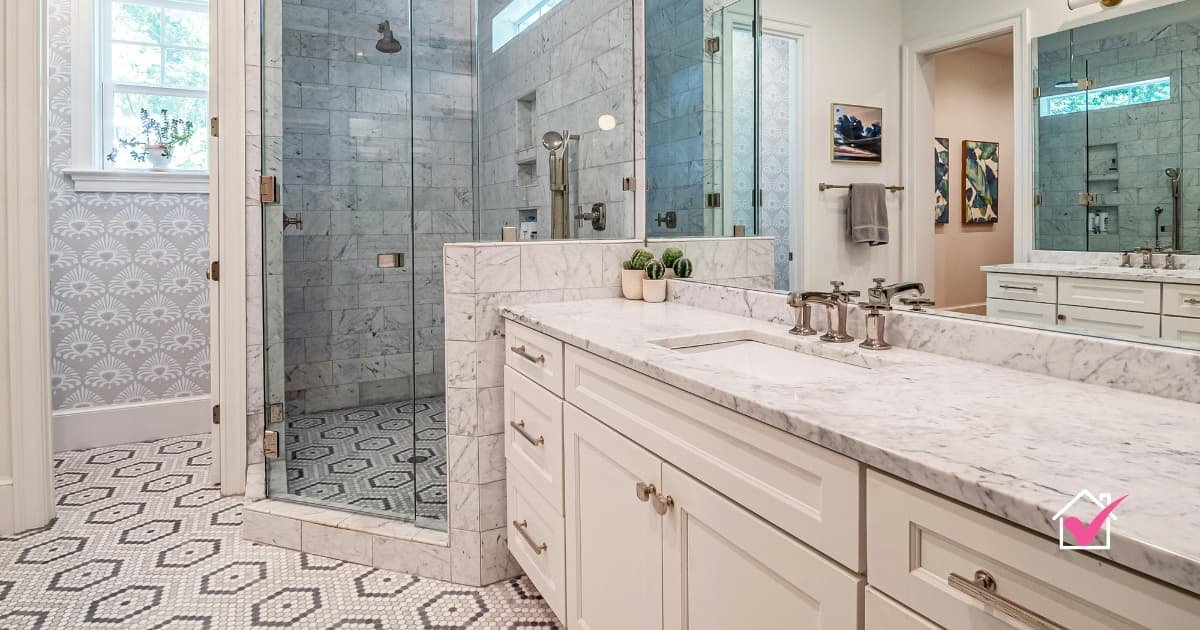
Spring is the perfect time to tackle the bathroom. It’s the room that creates a mess like no other in the house — and if you have boys, well, you already know what I mean.
But once it’s done? You will feel much better. So roll up your sleeves. Let’s do this.
Try these: Homemade cleaning products that really work
Start by cleaning every surface: counters, floors, around the tub, shelves, everything. Grab any laundry or dirty towels off the floor and throw them into the lever. Collect the bathroom curtain and liner, bath mat and rugs and start a load of washing.
Then sort through what’s left: clutter, things that belong elsewhere, and trash. Wipe out empty cupboards and drawers. Once they’re dry, put back only what you keep — the essentials. Move clutter and litter boxes out of the room.
Working from top to bottom, left to right is the golden rule of cleaning. It’s especially important when cleaning bathrooms in the spring because you don’t want to move dirt or bacteria back onto surfaces you just cleaned.
Use the long-handled duster on the exhaust fan, vents and ceiling lights. Then turn off the lights, remove the light cover and wash it. Once the bulbs are cool, wipe them too.
Here’s an important tip: before you spray anything, use a dry microfiber cloth to wipe down the counter, sinks, faucets, tub surround, shower floor, toilet tank, and pedestal…in that order. Why? Because it prevents you from spreading hair and fluff around. It also removes surface germs so your sanitizer can really do its job.
Put on your rubber gloves because it’s grout time! Mix equal parts baking soda and warm water with a few drops of liquid dish soap to make a paste. (If your grout is white, replace the water with hydrogen peroxide for additional stain-fighting.) Scrub it into the grout with a soft, damp toothbrush and let it sit for 10 minutes.
It’s a good time for a break. (Maybe move the towels to the dryer and start a new wash load?) Go back, scrub again with the wet toothbrush and rinse with warm water. Bye-bye grout stains.
If your shower has built up soap scum, let your sanitizer soak in before scrubbing. (Or check out my no-rub overnight homemade soap cleanser.) Otherwise, now it’s time to spray disinfectant on all the surfaces you wiped down earlier: the sink, the counter, the sinks, the faucets, the shower, and the tub. Do not rinse! We’ll get there after the disinfectant has had time to work. (Go to Step 5 if you’re worried.)
While this is soaking, proceed to the toilet. Turn the water valve on the wall clockwise to close it. Rinse to empty the bowl. Less water means the sanitizer works better. Spray the toilet tank, the lid, both sides of the seat, the empty bowl and the pedestal. Let it all sit and soak while you move on to the next step. (Seriously, we’ll take care of the rinsing in Step 5. Promise.)
Subscribe to the newsletter
and I’ll send you free cleaning tips too!
Now you will dust and then wipe everything. (Yes, the sanitizer is still soaking…work quickly on this step so it doesn’t dry out.)
Use the long-handled duster or a microfiber cloth on the crown molding, door trim, and both sides of the doors. Dust your window trim, the outsides of your cabinets and drawers, and baseboards.
Worried about dust hiding behind the toilet tank? Wrap a microfiber cloth around a tape measure or ruler and slide it into that tiny gap between the tank and the wall. Come on!
Wash walls, uniforms and boards with warm, soapy water. Use a clean mop to ease your back. Let them air dry. Go over light switches, cabinet handles and drawers with a clean cloth and some disinfectant spray. (Spray the cloth and wipe the spots.)
Now it’s time to rinse off the sanitizer, finally! Go ahead and spray your tub and shower. Wipe down the vanity and faucets with a clean, damp cloth. Change to a new one for the outside of the toilet.
Then scrub the toilet bowl, paying particular attention to the water line and below the rim. Turn the water supply back on and flush once the tank is refilled. Now it’s sparkling clean!
Finish this step by polishing mirrors, windows, glass shower doors and glass shelves. Move the trash can out of the bathroom and hang fresh towels.
Vacuum the floor first. For the tight spot behind the toilet, get down on your hands and knees and use a dry cloth to pick up the lint. Then wipe this area by hand with a fresh damp cloth.
Once that’s done, sweep the rest of the floor. I use a homemade floor cleaner — no rinsing required.
While the floor is drying, wash the litter box and once it is clean, spray it with disinfectant. Let it dry or wipe it off, your call.
Then deal with everything you define out the door. Throw away the trash. Remove anything that belongs elsewhere in the house. Put your donated items directly in your car. (I put mine in the driver’s seat so I can’t forget them.)
Turn on the bathroom fan. Spring cleaning stimulates bacteria and often involves a lot of cleaning products. Ventilation issues.
Reduce clutter to avoid mold. The more stuff you have, the more wet spots remain after a hot shower. If mold keeps coming back, a more minimalist bathroom setup can go a long way.
Use a toothbrush and baking soda on the shower tracks. If standard cleaning has left your shower tray still dirty, use a mixture of baking soda, dish soap and water on the track and rinse thoroughly. A lot of mineral buildup? Rinse with vinegar and then water. (Not for natural stone surfaces.)
That’s a lot of steps to keep in mind. Save scroll and catch me Bathroom spring cleaning checklist from the store. You can pull it up on any device or print it out, tape it to the door and check things off as you go.

Step by step to a sparkling clean
$3