Physical Address
304 North Cardinal St.
Dorchester Center, MA 02124
Physical Address
304 North Cardinal St.
Dorchester Center, MA 02124

Is the kitchen the hardest room to spring clean? I think so. There are so many surfaces, devices, and hidden spots that it’s easy to miss something or feel overwhelmed before you even get started.
When I first shared my process in 2013, I was a much younger and more agile woman. Now, I’ve updated it with adaptive tips for those of us who can’t bend like we used to. What follows is exactly what I do, with each step in order, so that nothing is lost and nothing is cleaned twice. Follow along and you’ll have a sparkling kitchen by the time you’re done.
Plan to spend half a day on it. If you cook a lot or haven’t been cleaning your kitchen regularly, it might even take a weekend. Limited time or energy? Break it up into smaller sessions, but follow the steps in order so you don’t re-stain what you’ve already cleaned.
This is the first step for a reason. Running out of your favorite cleaning products halfway through can derail your entire day. Collect everything first.
Related: Homemade cleaning products that really work
Empty the sink. You’ll be using it all day to wash and rinse, so start with a clean kitchen sink. Hand wash any dirty dishes or put them in the dishwasher.
Declutter surfaces. Without opening any cupboards yet, look around the kitchen. Move anything that doesn’t belong in this room to the “other rooms” box. Throw away broken or worn items. Put the donation items in the second box.
Clean the walls and windows. Pull down the curtains and start a load of laundry. Remove the artwork from the walls, wipe it down and set it aside. Pull furniture away from walls so you can clean behind it.
Customizing tip: If the furniture is too heavy to move, slide the duster extension behind it in the next step, then plan to vacuum around its base with the crevice tool when cleaning the floor.
This is the cardinal rule of kitchen spring cleaning: always work from the top of the room to the floor. This way, falling dust and crumbs land on surfaces you haven’t cleaned.
Use the long handle duster for everything:
Wash the walls, doors and trim then the boards with soapy, warm water to get rid of cooking grease build-up. Rinse with a clean, damp cloth to remove soap residue.
Customizing tip: Use a clean mop and save your back.
Empty and clean cupboards and drawers. Work one at a time. Take them all out, wipe them down inside and out. Clean handles and hinges where greasy dirt accumulates.
Get through what you put behind. Discard expired items. Put away anything you no longer use. When you bring things back, group them by how you use them and store frequently used items within easy reach. As always, rarely used stuff goes on the high shelves and heavy stuff goes on low so it won’t hurt you if it falls.
Light switches: Wipe over the plates and switches with a damp, clean cloth. Use a different disinfecting wipe on each and allow to air dry.
Now that the walls are dry, it’s time to make the glass sparkle. Polish framed photos and any other glass surfaces using glass cleaner and a microfiber cloth. Always make sure the bulbs are cool before cleaning fixtures. (Hot bulbs can break.) Re-hang your artwork after cleaning.
Subscribe to the newsletter
and I’ll send you free cleaning tips too!
Devices deserve their own focused attention. I’m linking my step-by-step guides below, but here’s a quick overview to give you an idea:
Microwave: Boil a cup of half water, half vinegar in it and let it sit for a few minutes. The steam relaxes the cooked food and the vinegar eliminates odors. Then wipe it well with a damp cloth.
Cooker and oven: First clean the hob and then insert the oven. If your oven is not self-cleaning, use oven cleaner according to label directions. Remove the oven drawer and clean underneath.
Dishwasher: Clean the inside with a 50-50 mixture of vinegar and water. Use an old toothbrush on the door gasket to loosen stubborn residue. Wash the filter with soapy, warm water, then rinse and allow to air dry before reinserting.
Refrigerator and freezer: Clean inside and out with room temperature, soapy water and a clean cloth. Dip the cloth in baking soda to scrub stubborn spots. Rinse with a clean cloth. If you can, pull the cooler away from the wall to clean the coils and the wall behind it.
Device Cleaning Guides: Cleaning stained stoves | Cleaning your oven naturally | Deep clean your dishwasher | Clean out your fridge and freezer
Trash can: Take it out and scrub it with warm, soapy water. Rinse well and let it dry in the sun. Sunshine naturally deodorizes and disinfects without the need for additional products.
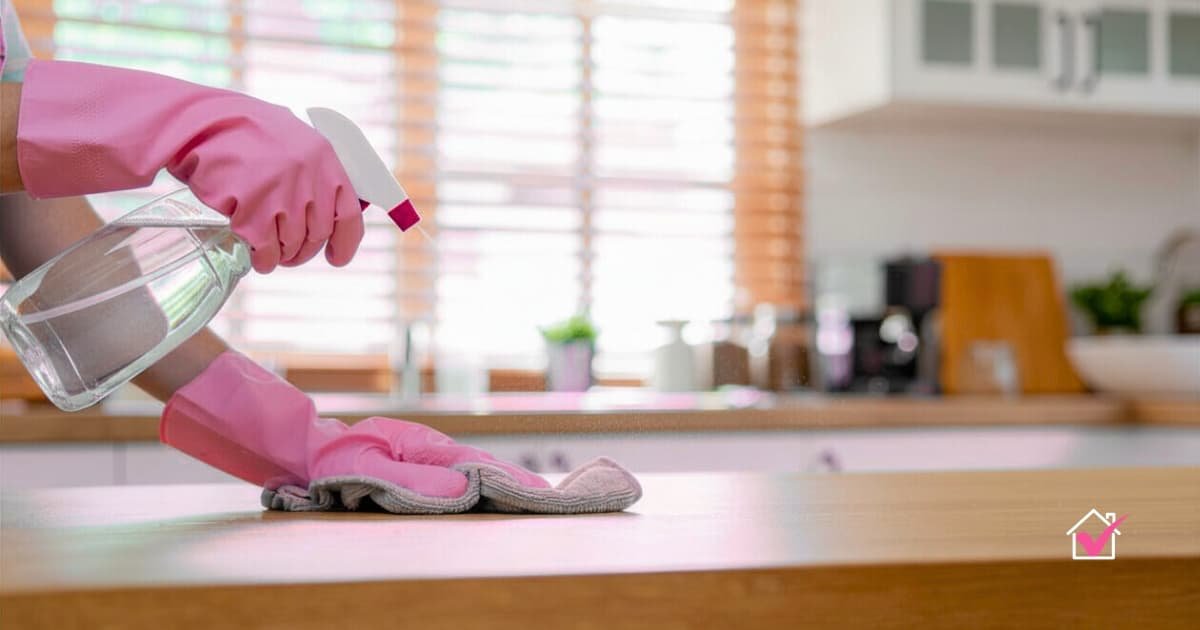
Counters: Clean the backsplash first, including the grout. Use an old toothbrush dipped in baking soda to scrub stubborn spots, then rinse. Wipe and disinfect counters and allow to air dry.
Sink: Rub the rubber gasket into your garbage disposal on both sides. Add half a cup of ice cubes and half a cup of baking soda and swish it around for a full minute. No mood? Pour 1/2 cup of baking soda down the drain and pour in 1 cup of vinegar. The foaming action loosens the buildup in the drain and deodorizes it as well. Run hot water on full blast to rinse off any loose, then scrub the sink with baking soda and a damp cloth, rinse well and dry.
We saved the floor for last on purpose. All the dust and crumbs you knocked up during the rest of your cleaning are now on the floor, ready to be swept up.
Carpets and rugs: If machine washable, wash according to care instructions. Otherwise, wipe both sides and set aside.
Vacuum: Use the crevice tool to clean along the base of the walls and any furniture that was too heavy to move. Lift the floor vent covers and clean them as well. Then vacuum the rest of the floor.
Mop: Start at the farthest corner from the door and go outside. Use an S-shaped stroke to lift dirt, then a back-and-forth motion to clean. Rinse your mop often to avoid pushing dirt around. Finish with plain water and let the floor dry.
You’re almost done! Here’s what’s left:
Once a year is the traditional pace for Spring Cleaning, usually between March and May, when you can open the windows and let fresh air in. After summer, I usually give my kitchen a fall cleaning to get it clean and ready for the holidays.
When your kitchen is this clean, it’s much easier to maintain. Then following a consistent weekly kitchen cleaning prevents stuff from building up between now and your next spring clean.
If you want a printed checklist to work—one that keeps you on track without having to scroll back through this post—I’ve compiled all the steps at Kitchen Spring Cleaning Checklist below. It’s an instant download that you can access from any device or print and review the steps as you go.

From top to bottom, nothing was lost
$3