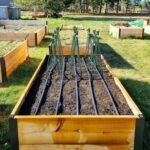
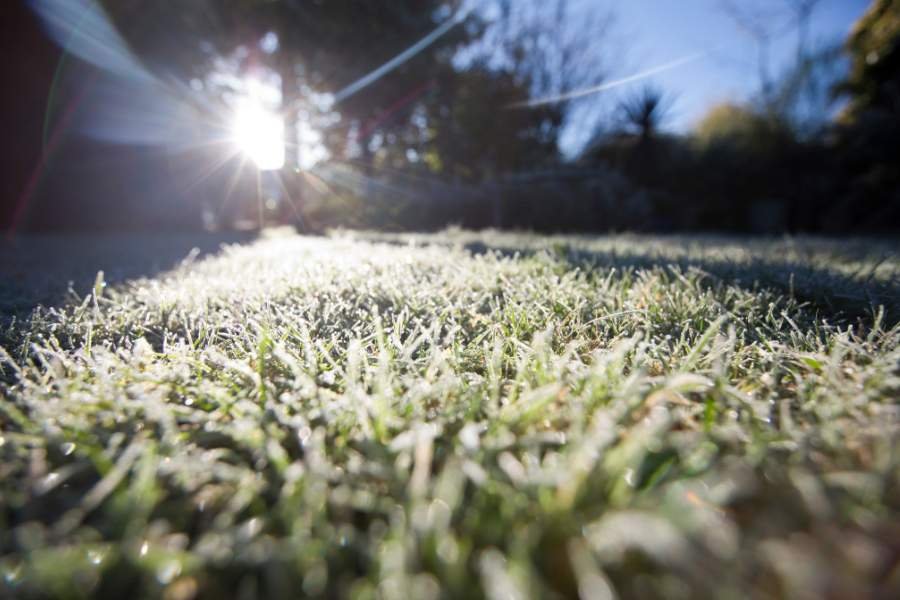
It’s cold! Are you and your garden ready for winter? There are many different steps you can take to ensure that your precious plants and yard not only survive the winter, but thrive. These steps may include mulching, amending the soil, pruning plants and applying frost protection. But it’s not just your plants – your equipment needs to be looked after in the winter too! And that’s where winter sprinkler use comes in.

After all, if you want to have one killer lawn next spring, your sprinklers should be working. Not winterizing your sprinkler system puts you at risk of some pretty serious damage. Here’s the idea:
After using the sprinkler system, the water remains inside the pipes. If you don’t turn off the sprinklers before the cold weather hits, the water in them will freeze and expand. Expansion can cause pipes to burst. Since sprinkler pipes are underground, repair work requires extensive digging and re-piping. It is an extremely expensive job and may involve tearing up your yard the way you want it to be the best.

So let’s avoid this extensive work by winterizing your system. In this post we discuss how to winterize your sprinkler system using various methods to ensure you are ready for the cold weather.
Understanding your sprinkler system
Sprinkler systems consist of five main components as follows:
- The timer or controller that controls when the valve opens
- The pipes or tubes through which water flows
- The valves that release the water flow
- The sprinkler heads from which the water comes out
- The backflow preventer that protects the system from contamination
Every part of the sprinkler system must be winterized to ensure optimal operation. If a fixture is left on, it can cause water to leak through it causing pipes to freeze and burst. Freezing can also cause components to break.

When to Winterize Your Sprinkler System
It is best to winterize your system at least a week before the first frost is expected. Make it part of you fall garden cleanup checklist The time when the first freeze will occur will vary depending on the area in which you live. Colder areas will experience the first frost in mid-October. Stay up-to-date on local weather forecasts and monitor your soil temperature to make sure you’re prepared.

Sprinkler Winterization Process Step by Step
Okay, so it’s time to get down to business. Let’s go through the steps you will need to complete to successfully winterize your sprinklers.
Turn off the water supply
Turn off the water supply to ensure that no water flows through your system in cold weather and poses a risk of freezing. This is a three-step process as follows:
- Press the Off button on the Sprinkler controller: Do not unplug the box from the outlet. This will delete your sprinkler settings. If the system does not shut down, you should disable it at the source.
- Use the Backflow Device: Your backflow device is likely in your basement. It will have valves marked “B” and “C”. Turn one up and the water flow should stop immediately.
- Use the main water supply line: If you notice a leak in the backflow device, head to the main water supply which is likely to be in the basement. It will have two levers, one for your house and one for your sprinklers. Turn the level of the atomizer so that it is at a 90 degree angle from the pipe.
Drain the system
The method you use to drain your system will vary depending on the type of system you have. Following are the drain methods for manual and automatic systems as well as the discharge method.
Handbook
Manual draining requires the following steps:
- Open the 2 Petrol with a flat head screwdriver so the head is turned at a 45 degree angle.
- Open the internal drain, make sure you have a bucket available to catch the drain.
- Open the two ball valves at a 45 degree angle to prevent water entrapment.
- Run your sprinkler on a cycle to release any water left in the valves.
Automatic
If you have an automated system, you can:
- Turn off the water supply
- Operate one of the sprinkler heads briefly to release the water pressure in the system
- Automatic draining should start
Explosion
This method involves introducing compressed air into the system. It will send the excess water out of the sprinkler heads. Note that this process can be dangerous. It is recommended that you call a professional.
Inspection of sprinkler heads
Check your sprinkler heads to make sure they are not damaged. Look for cracks, breaks, chips, dents and obstructions.
If your sprinkler is blocked by dirt or debris, you can clean it by following these steps:
- Pull the spray head out of the housing
- Hold it in place with handles so it doesn’t fall back into the housing while you work
- Hold the sprayer by the threaded part, unscrew it and remove the filter
- Use a towel to clean up the residue
- Leave the handles in place and activate the sprinkler system to clean it
- Reassemble the sprinkler
If the atomizer needs to be replaced, you must:
- Buy a sprinkler head that fits your system
- Dig out the broken sprinkler head and unscrew it
- Fit the replacement sprinkler head
- Try the new sprinkler head
- Fill the hole around the new sprinkler
Insulating components above ground
It is necessary to insulate components above ground to protect them from freezing. The main shut-off valve can be wrapped with insulating foam tape and a plastic bag as a DIY solution. You can also simply buy a reverse feed insulating valve cover online (see below). Finally, insulate any pipes above ground with foam tape or foam pipe covers.
Setting the controller/timer
Most controllers have a rain function that shuts off the signals to the valves. If you have an automatic system, you may have a shutdown timer. When the system is turned off, the controller will continue to keep time and the clock will continue to run, but the valves will not activate.
Note, that if you have one DIY sprinkler or irrigation system, you may need to use different winterization methods.
Additional tips and tricks for effective winterization with sprinklers
I am not a sprinkler maintenance professional, so I wanted to provide some online resources that you can consult to do your own research. Here are a few to help you through the winter watering process.
Make sure you have the right tools before you start the winterization process. Here are a few to keep on hand:
- A flat head screwdriver for draining manual systems
- Sprinkler head replacement
- Insulation materials such as foam and tape
- Plastic bags and other materials to keep the house dry
- Compressed air if you plan on blower irrigation
Hiring a professional vs DIY winter sprinkler use
Winter irrigation can be a DIY job. But some people are better off calling a professional.
The biggest benefit of DIY is saving money. If you can do everything yourself, you will save professional fees. But if you don’t know what you’re doing, you could end up spending more money in the long run. An untrained DIY’er can damage irrigation systems. They can also be injured during the winterization process. Both situations will result in expensive medical and repair bills that add to the cost.

Professional services are highly recommended if you are doing blower irrigation. It can be a very dangerous process. Hiring a professional will save you time to be able to enjoy your winter.
Now your sprinklers are ready for winter!
Winter is a necessary part of sprinkler maintenance. It will keep your system from freezing and keep your pipes from bursting. It will minimize the risk of an expensive repair.
Now that you know how to winterize your sprinkler system, what are you waiting for? Winter is almost here. Take proper precautions before it’s too late. Then I look forward to one great lawn next spring.