We just published our latest post on soil tests in the gardeni knew i had to write this. Why? Well, in the post on soil testing, I briefly mention home soil test kits and how to use them. And while they’re relatively simple in theory, they can be a little tricky to put into practice.

Sure, they’re convenient in that you can run to the garden center and pick one up to test your soil the same day. But when you go to complete the steps, you realize that these home test kits have some flaws. So I sat down to write about my experience with them and the ways I would suggest to make using them a little easier… Hope it saves you some headaches!
Why take my advice on soil test kits?
Honestly, I hated these things the first time I used them. I broke several small capsules, spilled the test tubes a few times and ended up with results that were just not clear. Since then, I’ve discovered my preferred system for using these tests and have a much easier time. I’m not saying I’ve found the perfect way to avoid all these hassles, but I’ve found what works best for me.

I now regularly use these soil tests as a quick check in my garden at the beginning of the season as well as during fall cleanup. It’s a great way to get a quick answer on which beds need the most attention and where to prioritize adding compost. I hope my trial and error helps you avoid some of the same headaches I endured!
What home soil test kit is this post?
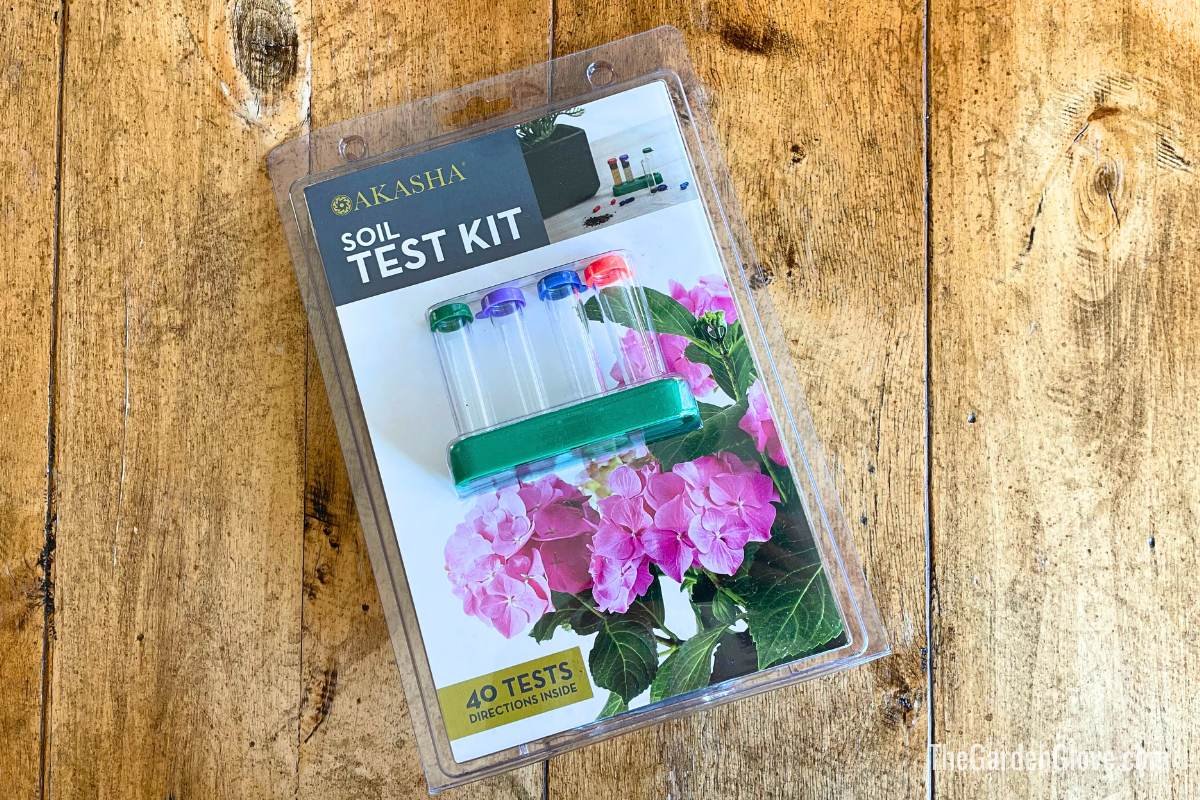
The most popular home soil test kit you’ll find at most major garden centers is the Luster Leaf 1601, pictured below. This is what I used to write my review and recommendations. Luster Leaf is the manufacturer, but the kit can be found labeled with many different brand names. Last time I bought one, it was Rapitest, but this time it was called Akasha. Either way, if you buy a test kit that looks like this, it’s probably from Luster Leaf.

How to use a home soil test kit in your garden: Basic steps
First, collect a soil sample. Dig 4-6 inches deep into your garden bed and scoop a cup of soil, including a piece of all the layers into your hole.

How to test soil PH:
- From your soil sample, remove enough soil to fill it up to the first line of the test tube.
- Carefully separate the PH test capsule and add it to the test tube.
- Add water to line four and shake vigorously for 30 seconds.
- Let the color develop for about 30 minutes.
- Compare the resulting color with the chart included in the test kit to determine the PH level.

How to test soil nutrients:
- Take your soil sample and add water to it at a 1:5 soil to water ratio
- Stir the mixture for about 30 seconds, then let it settle (this can take up to 24 hours for soils with more clay)
- Remove the cap from each of the remaining 3 test tubes and use the supplied pipette to fill each tube with water to the fourth line.
- Carefully open each capsule and add to a test tube, then replace the cap and shake vigorously.
- Allow the color to develop for about 30 minutes, then compare the results to the chart included in the test kit instructions.
Tips for success when using a soil test kit at home
Now that you have a general idea of how to use these kits, let me walk you through some challenges you may face and how to make the process a little easier.
Problem: Capsules breaking
This was my biggest concern with the home soil test kit when I first tried it. These capsules are so fragile and some are really hard to separate. This combination makes it incredibly easy to pinch them too hard while splitting the sides and end up breaking the capsule.
To avoid breaking the capsules, hold each side of the capsule very gently between your fingers and begin twisting the two sides in opposite directions. Do not try to pull them directly. You should apply just enough pressure to get the sides to rotate and then gradually start twisting them, as if unscrewing them.

And how does that help? The resistance of the capsule is much higher when the two sides overlap more. If you try to pull them directly, you end up biting them really hard. Twisting first allows you to gently grip the capsule to prevent breakage.
Problem: The soil does not settle enough
After mixing your soil and water well, you may be frustrated by how long it takes for your soil to settle enough to start your tests. The more clay in your soil, the longer it can last. However, keep in mind that it may not need to be settled as much as you think. Here’s an example using my latest soil test. This first image is what the sample looked like right after it was mixed with water.

…And here is how it looks after about 24 hours. It looks like it’s still cloudy and colored and I thought it might never be clear enough to test.

But the effect is almost gone as soon as I transfer the water to the test tubes.

The lesson here? You may not have to wait as long as you think you will, so don’t waste your time waiting for the water to clear. Instead, when you can see that most of the sediment has settled, go ahead and try filling a pipe to see if the water is clear enough. You can always wait longer if needed.
Nitrogen test color not displayed
This was a problem I had the first time I used these soil test kits, and one I continue to have. Actually, I don’t really have a solution for you on this one! Instead, I just have a piece of advice: ignore the effects of nitrogen, or just don’t bother trying it at all.
Why? Well, nitrogen is a nutrient that is notorious for rapidly leaving the soil. It is dispersed into the air when the soil is disturbed (this is part of the reasoning behind no-till gardening methods) and washed by rain into the garden. As the soil sample sits, most of the nitrogen in the sample is lost. Mine, for example, was definitely gone after I let the sample sit for 24 hours. You can see in my results below that the nitrogen test tube (purple) didn’t show up at all.

The solution? Just don’t trust the results and know that your garden probably needs a little nitrogen boost. However, you don’t have to turn to conventional fertilizers to achieve this. Actually you can make your own! Coffee grounds are great too budget friendly way to add nitrogen to your soil, and it is compost.
My Review: Pros and Cons of Home Soil Test Kits
To sum it up, I’m not impressed with these test kits, but I think they’re handy for quick answers (once you get around to twisting those capsules). I mostly agree with this very thorough review in The New York Time’s Wirecutter columnwhere they call all the soil test kits they reviewed “complicated, messy and, often, inaccurate.”
The only part I disagree with is the “complicated” label. At one point in the review they state that the instructions are not simple or easy to understand. I don’t know if the manufacturer changed the instruction booklet, but I found the instructions to be rather clear and concise.
When to Use a DIY Soil Test vs When to Get Professional Soil Testing
I go more in depth on the pros and cons of each in our ground test guide post. In general, it’s smart to opt for professional soil testing when you have persistent problems in your garden. Starting from scratch with a DIY landscaping project or creating new flower beds? Anytime you’re planting somewhere you’ve never gardened before is a great time to professionally test so you know exactly what you’re working with.

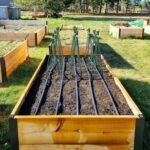
It is best to choose a soil test kit when you are working with garden soil and you are already somewhat confident that you will not have any problems. For example, I just used a home kit when we first built our raised beds because we bought raised bed soil from a local landscaping supplier.
Home Soil Test Kit: My Opinion
To sum up my opinion of home soil test kits, I think they are ideal for routine garden maintenance. I use them to ensure I don’t fertilize unnecessarily and spot nutrient deficiencies before planting. However, if I have persistent garden problems or start a new landscaping project, I will opt for professional testing. How about you? Tell us in the comments which one you prefer and why!
Then continue your efforts to upgrade your DIY garden maintenance with our post winter sprinklerand maybe treat yourself to a new “she shed” for whatever you had work for. Alternatively, take a minute to learn about usage crops in a home garden to further improve your soil health!